The Azure Lab Diaries - Building Attack & Defend AD Lab with Azure Arc & Sentinel

Hello You#
In today’s blog will be filled with Azure stuff, and it’s going to be a lengthy one, so grab your coffee or a White Monster and let’s get started!
The idea for building this lab was born when I began working through the HackTheBox Pentesting modules. I thought it would be an excellent opportunity to learn both attack and defense techniques: how to configure a vulnerable lab, perform attacks, and then write detections for them.
My initial thought was to provision Azure VMs, one Windows server and two workstations. However, I quickly realized this wasn’t the most cost-effective solution for a small lab. Almost all resources are billable in Azure. So, if I built that lab, I’d be paying for VMs, static IPs, disks, and Azure Sentinel.
I tried several methods to minimize costs. I even wrote a Bash script using the azure cli to deallocate machines in the lab and delete static IPs. Then, when I wanted to rebuild, another script would turn on all the machines and assign new static IPs to their NICs.
However, after all that effort, I had an idea: “Why don’t I just use Azure Arc?” This way, I’d only pay for log ingestion into Sentinel. That’s where this project truly began.
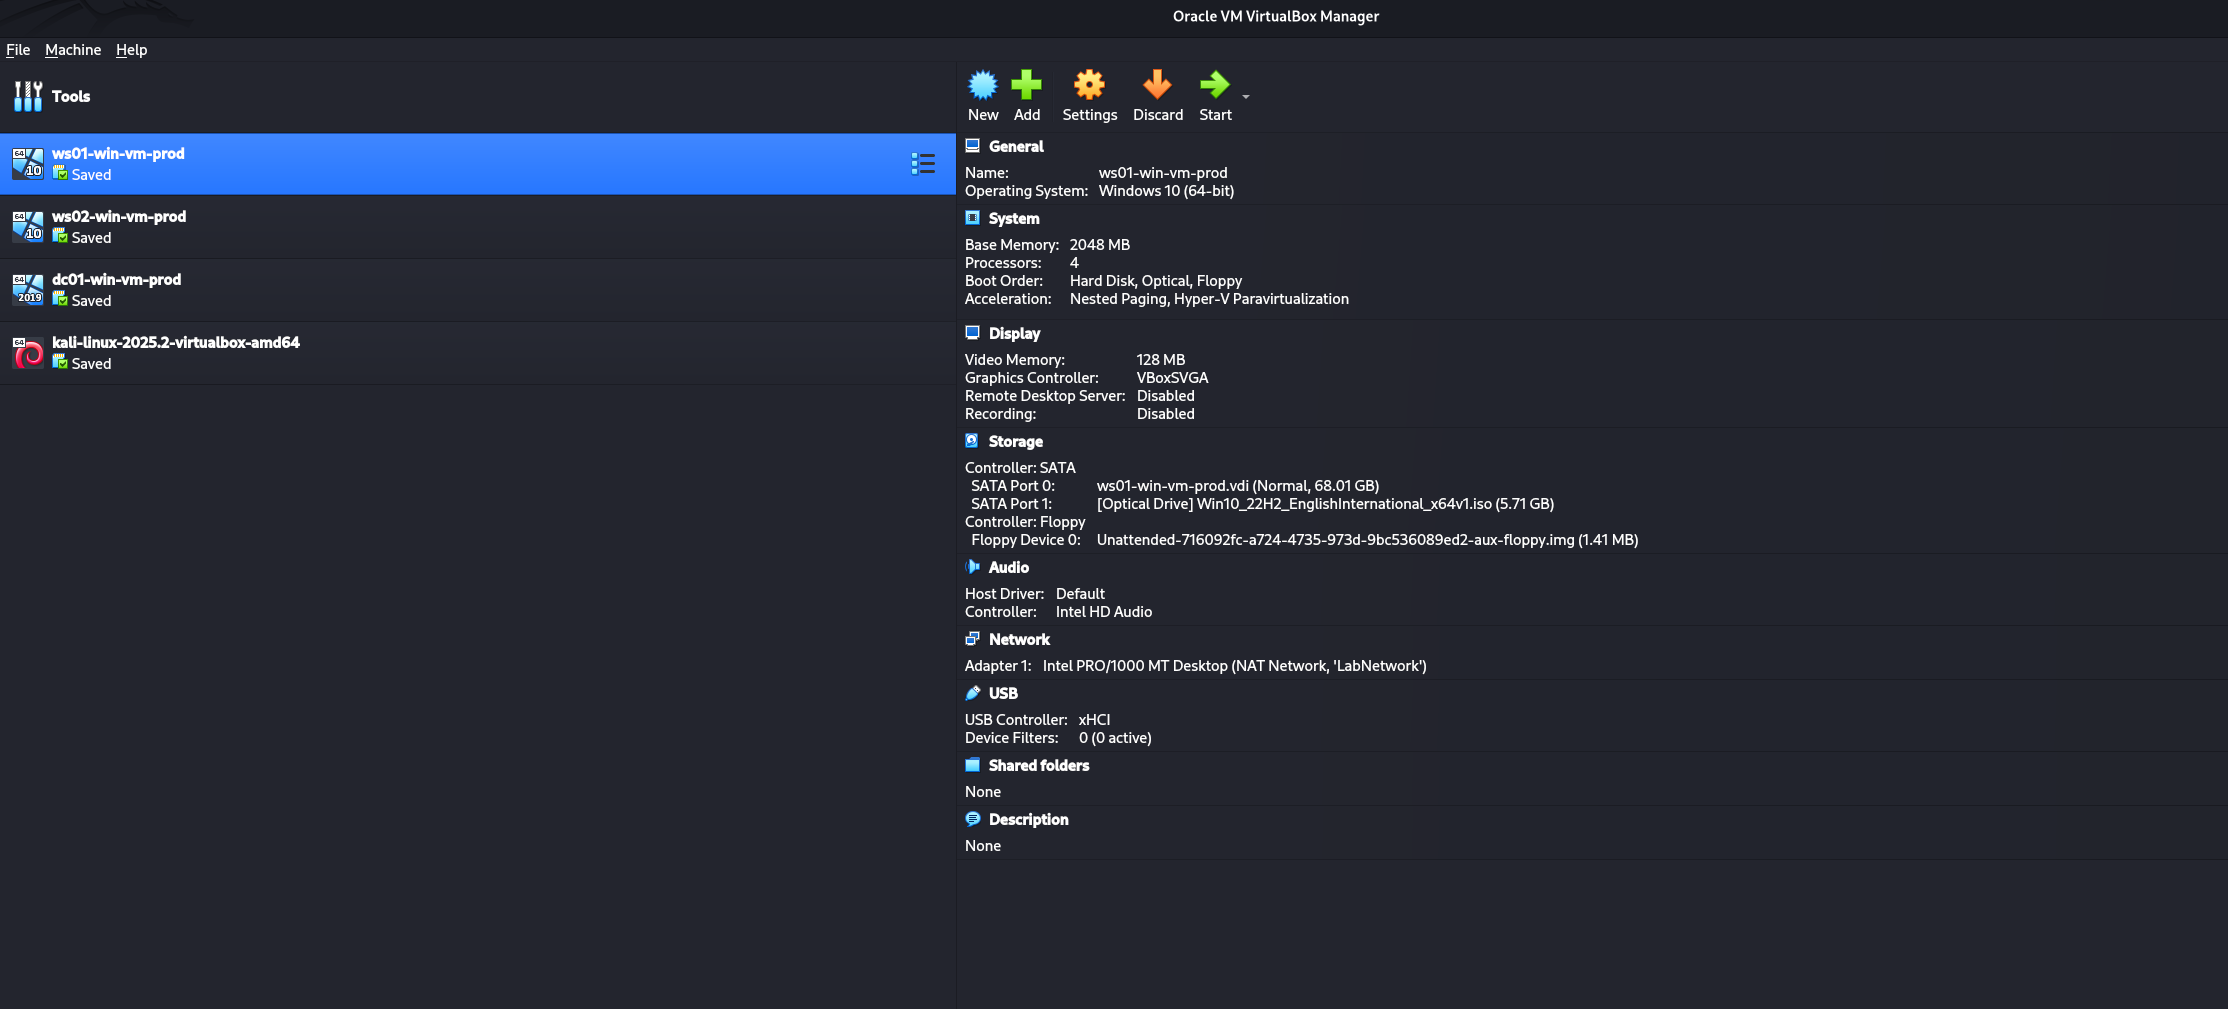
Preparing the AD environment#
For this part, I followed The Cyber Mentor’s instructions on building the AD environment. However, I add a few extra steps to configure the lab more effectively:
- Creating a NAT network
- Disabling DHCP
- Assigning static IPs for the machines
All other steps were exactly as described by The Cyber Mentor.
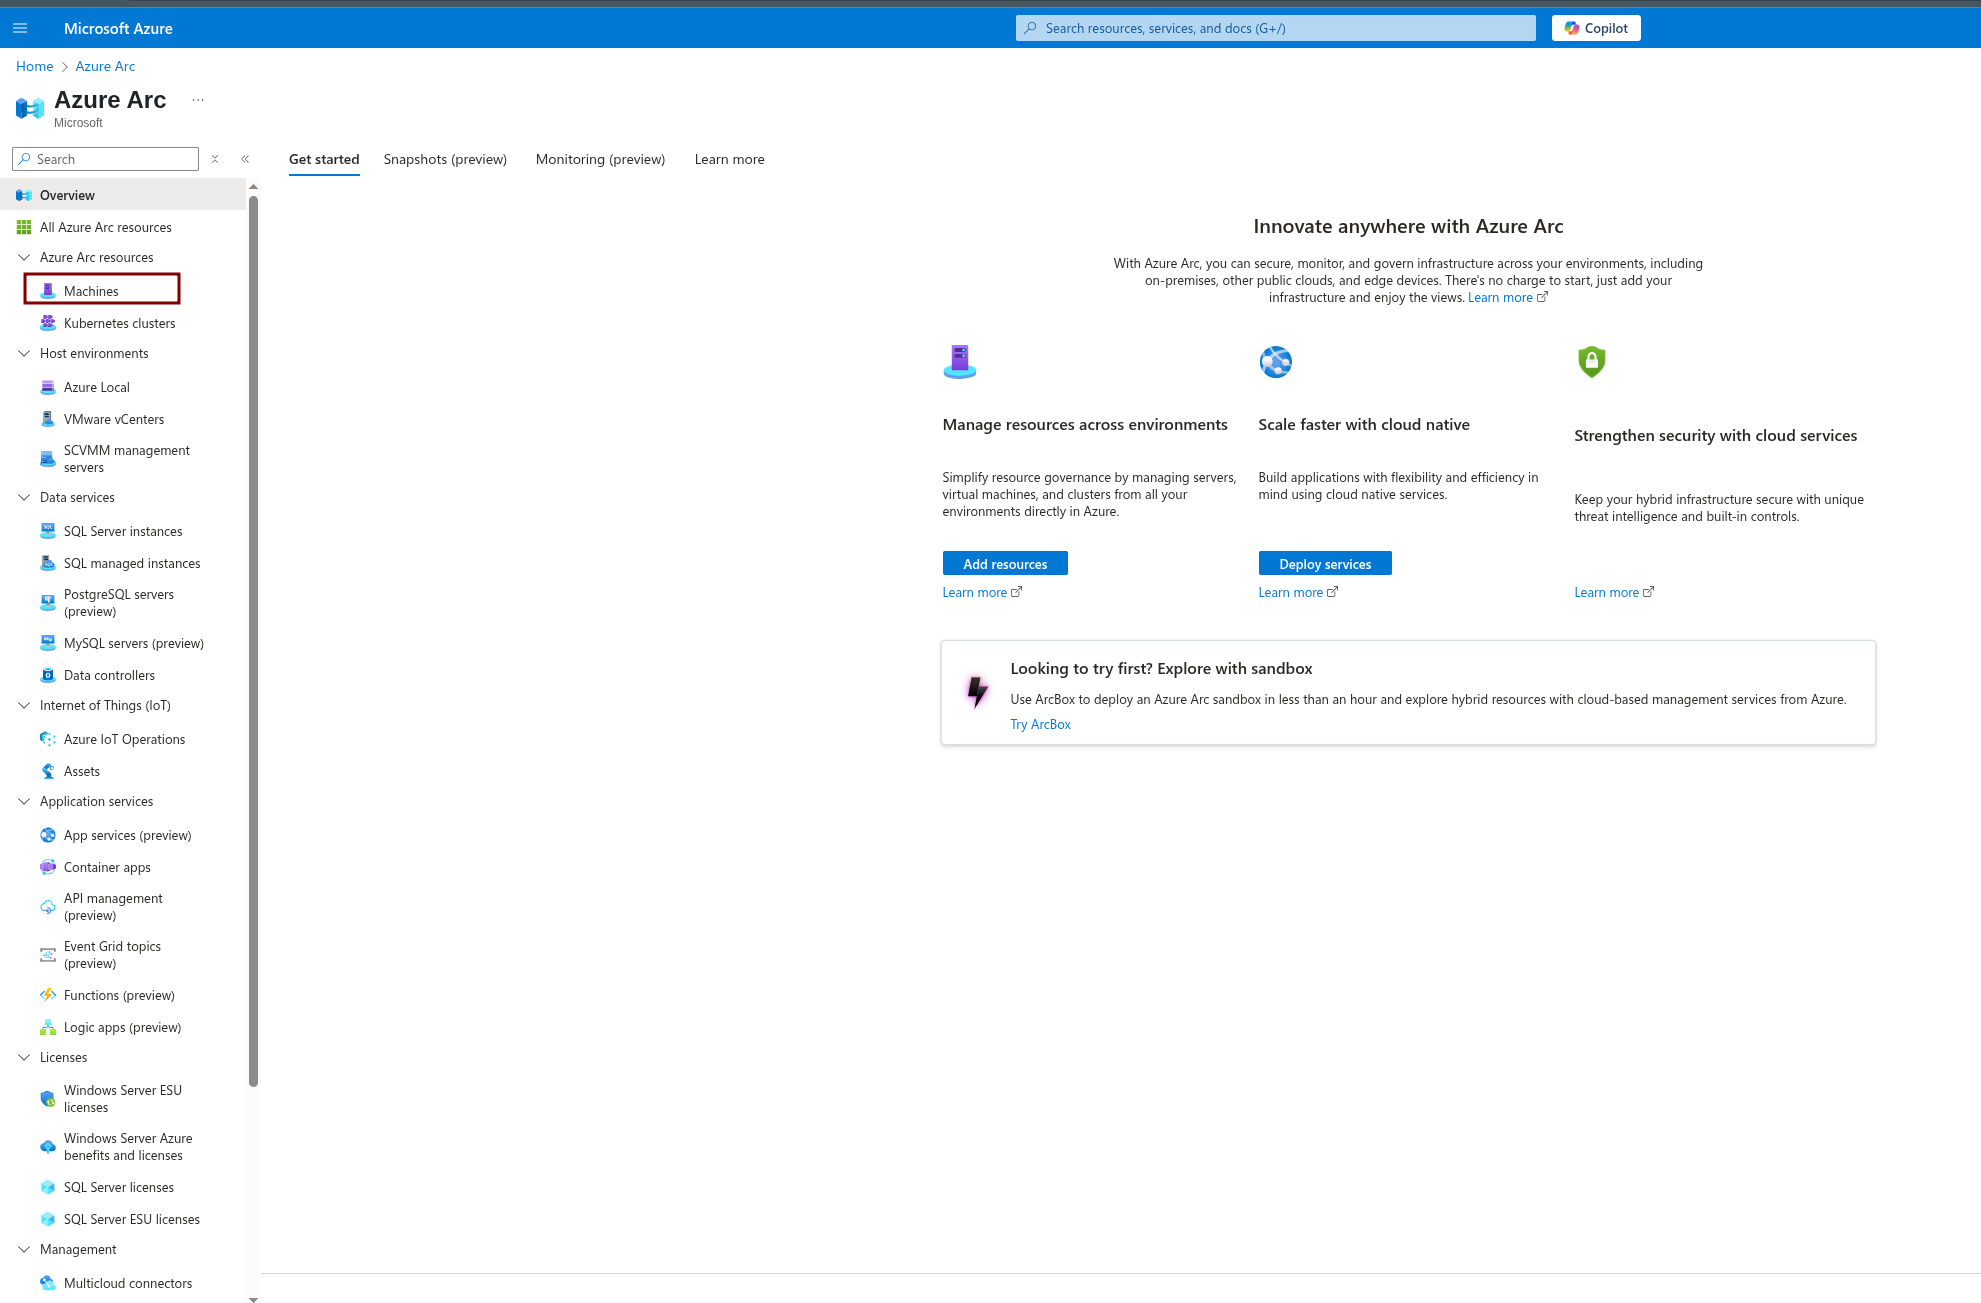
Installing Azure Arc on On-Premises VMs#
To get Azure Arc set up, follow these steps:
- Go to the Azure Portal.
- Search for
Azure Arc. - From the left pane, select Azure Arc Resources, then choose Machines.
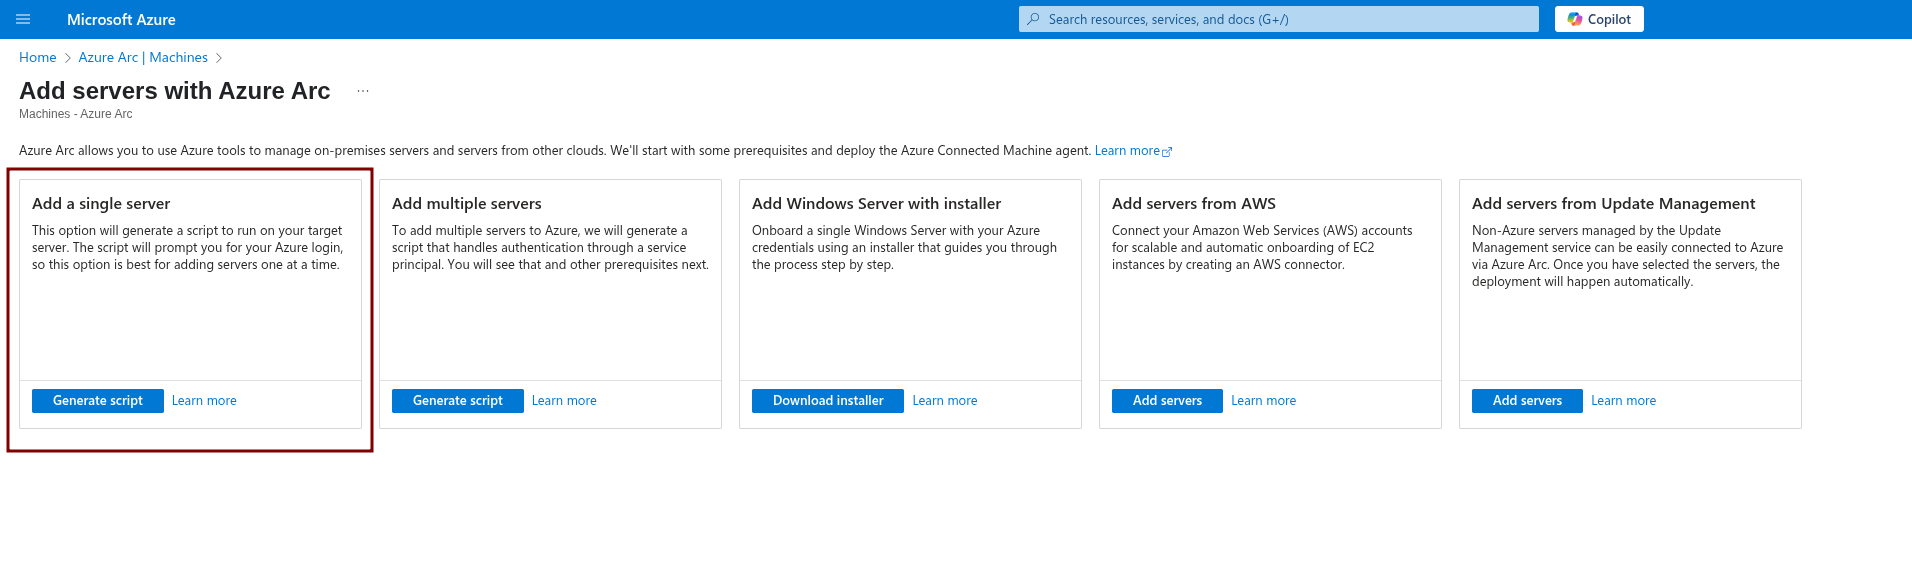
Once you’re on the Machines page, add a new resource and select Add a single server.
We’re using this option because we only have three machines. In larger environments, you’d use options like Add multiple servers, which authenticates through a service principal instead of requiring manual authentication each time.
Next, fill in the required information: subscription, resource group, region, and OS.
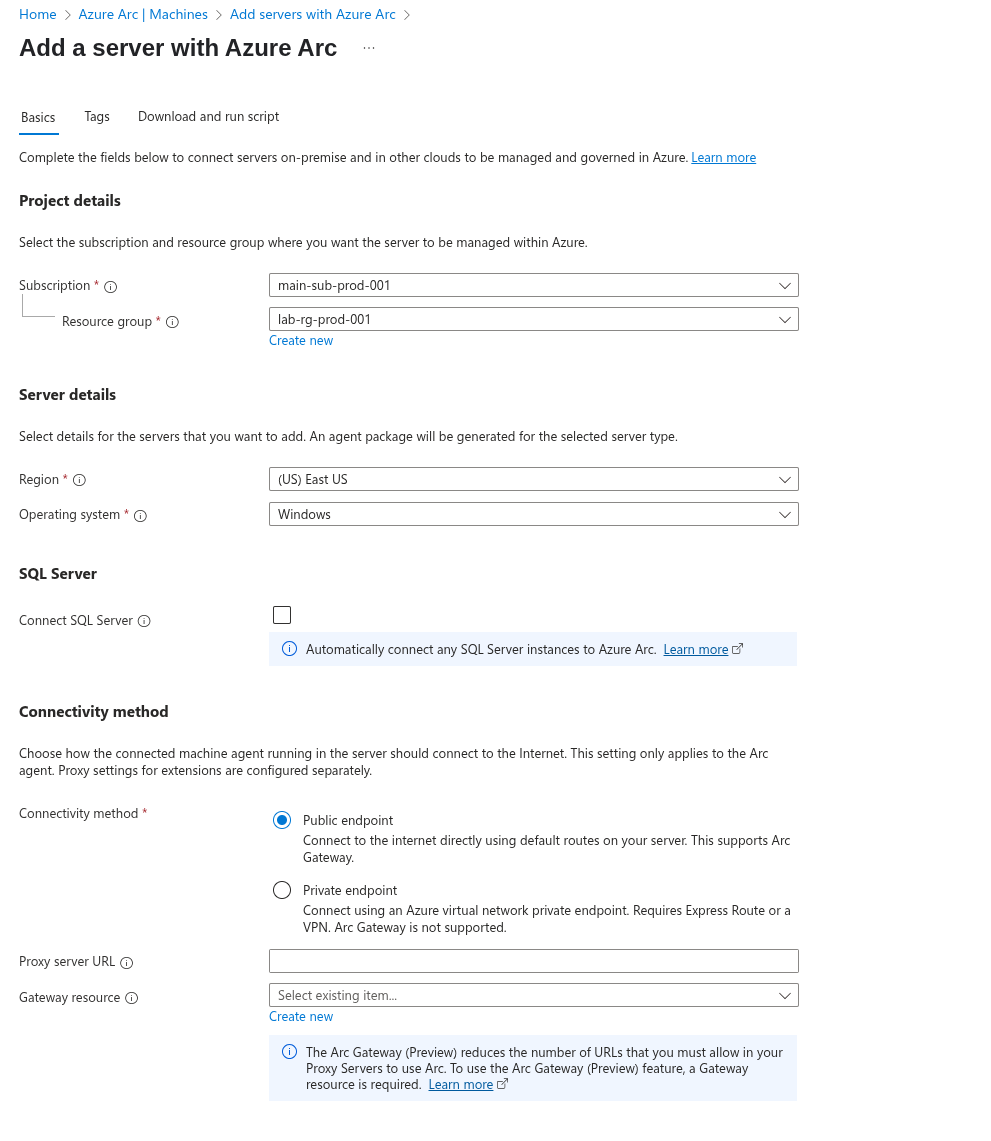
Set the operating system to Windows, as all the machines we’re onboarding are Windows. Uncheck Connect SQL server unless you’re onboarding a machine running SQL Server that you want monitored.
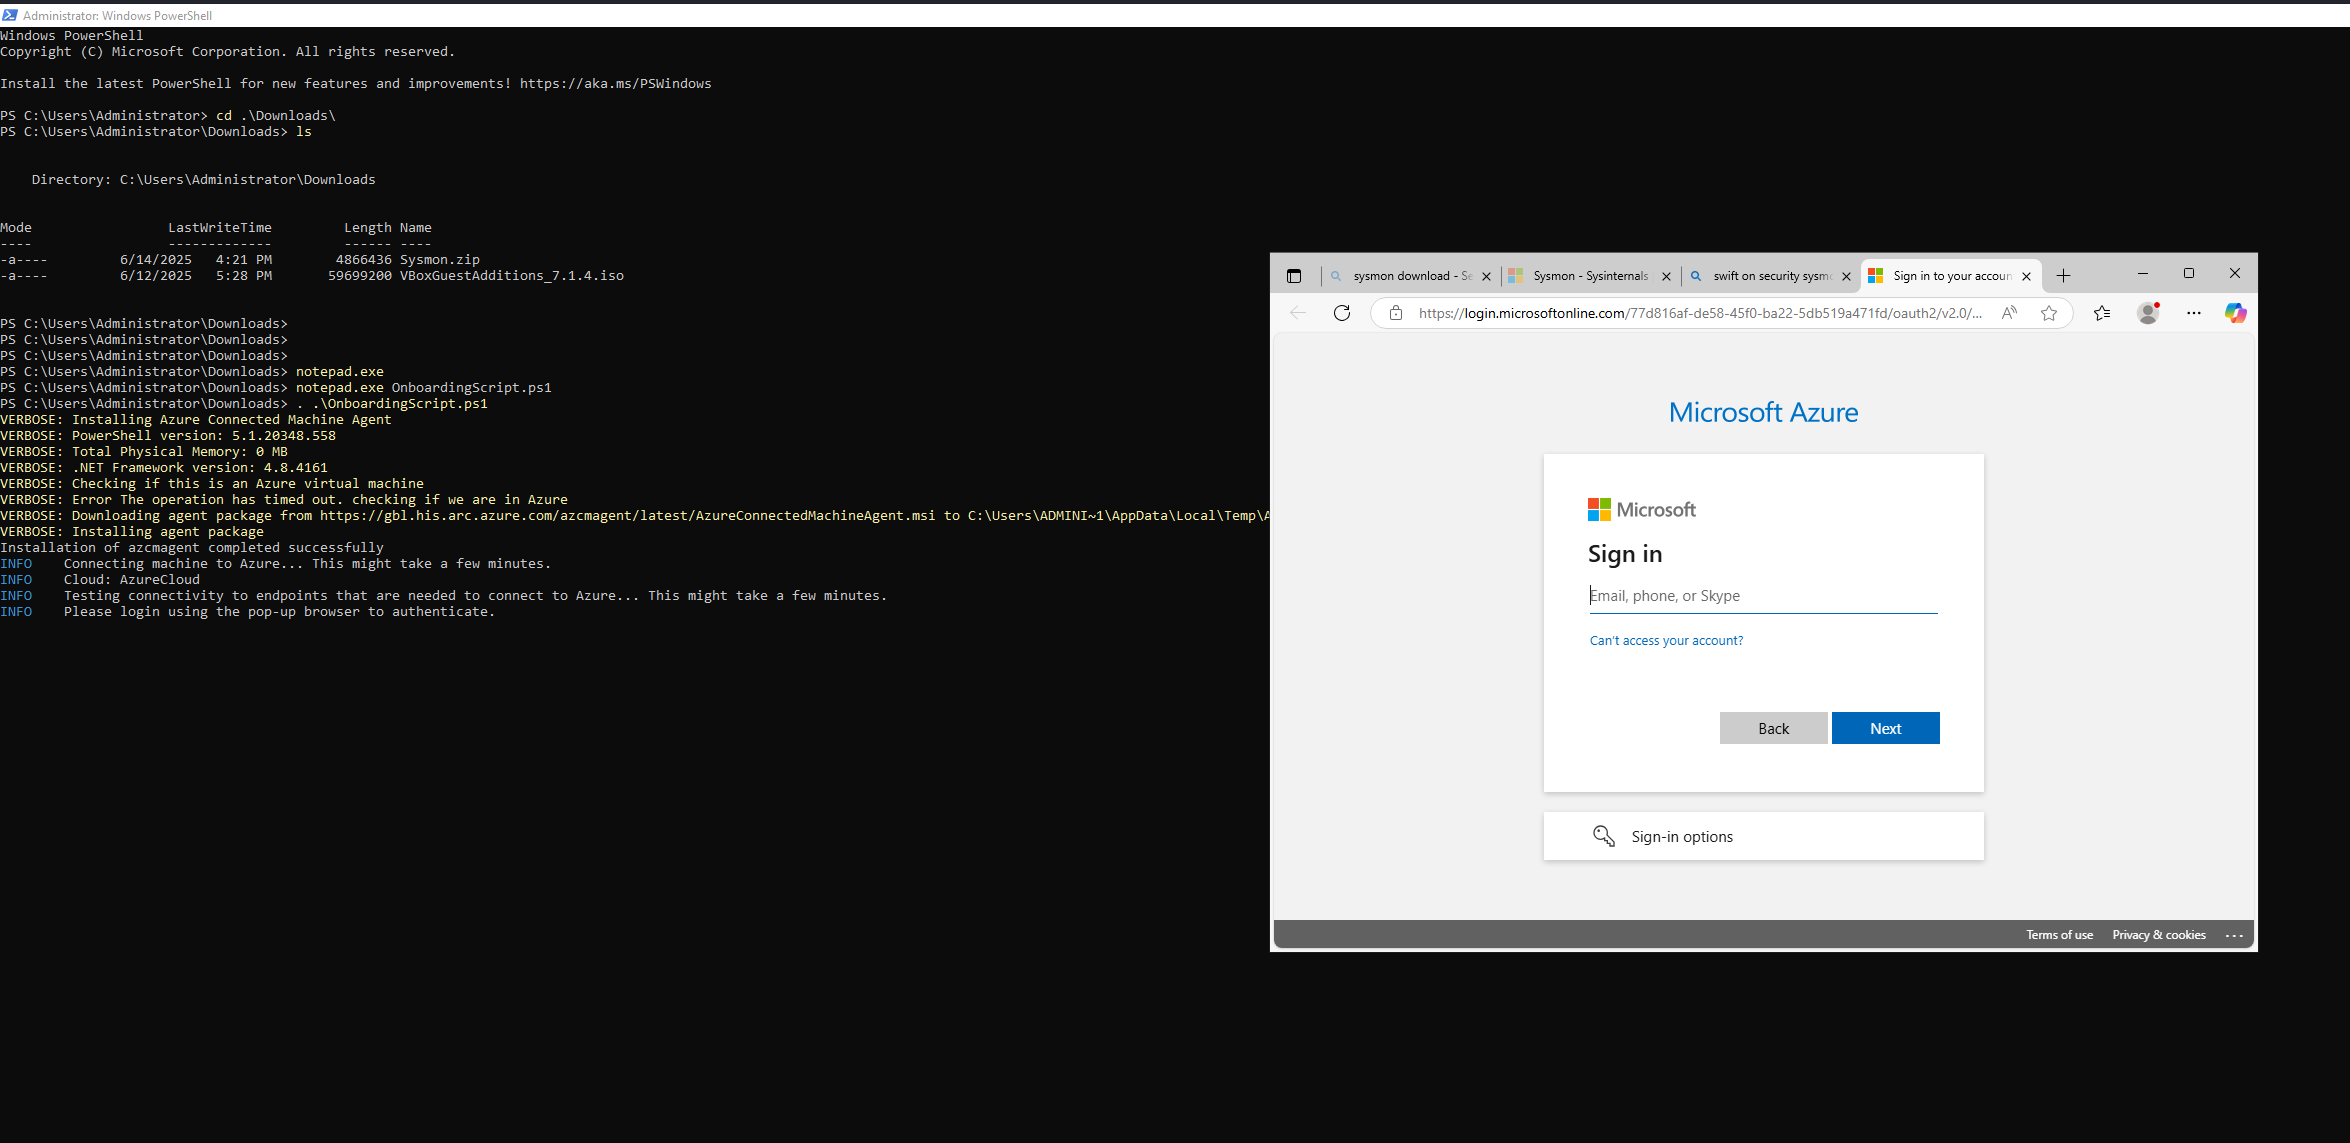
Once you’ve completed this section, download and run the script provided in the Download and run script part.
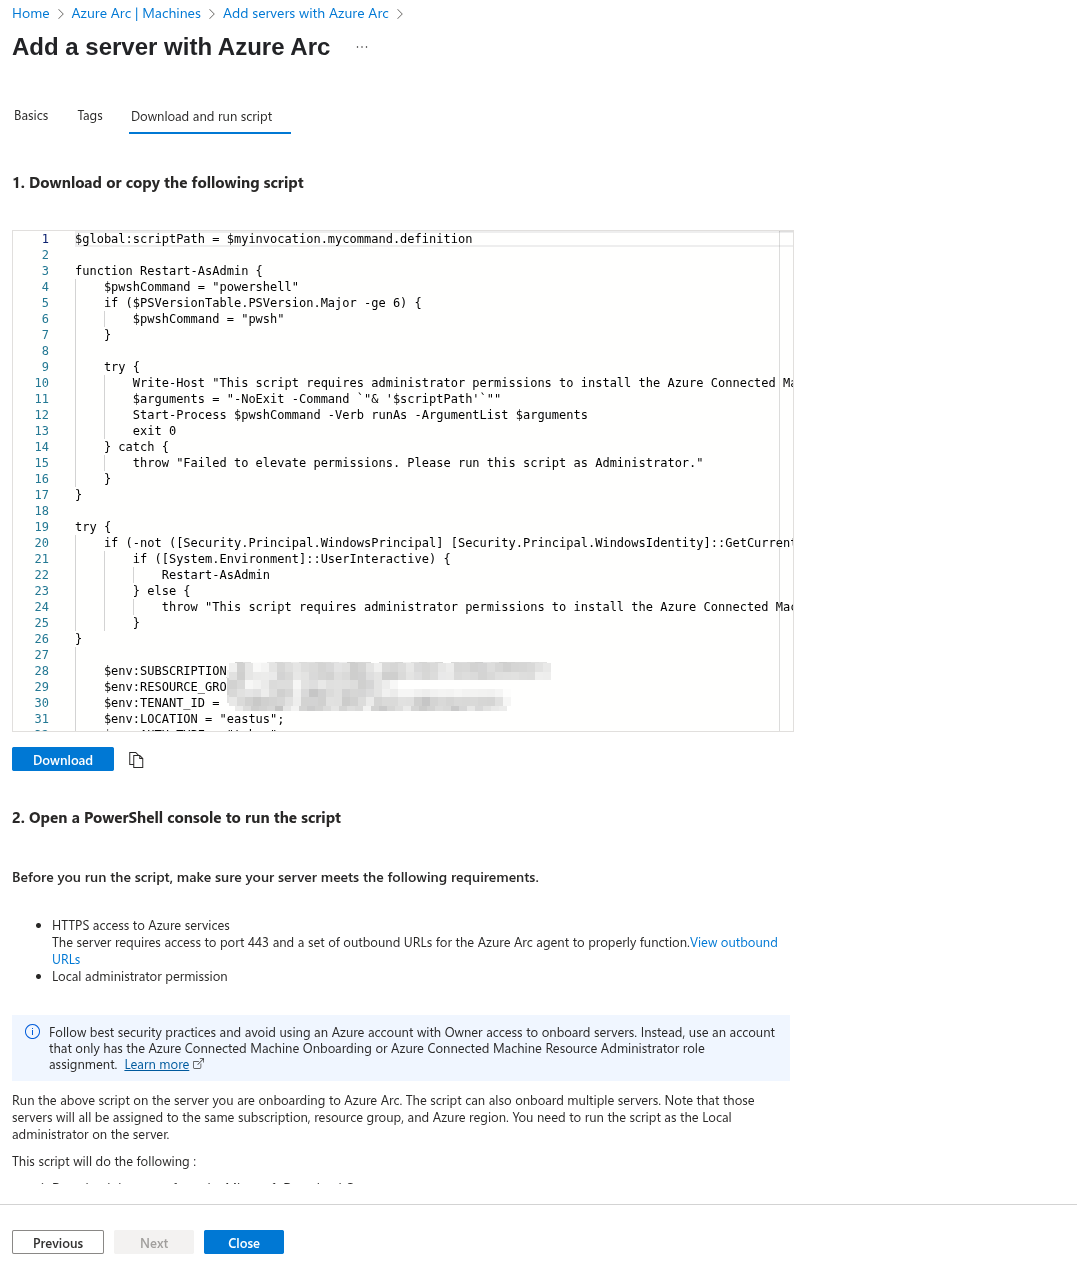
The script will prompt you to log into Azure.
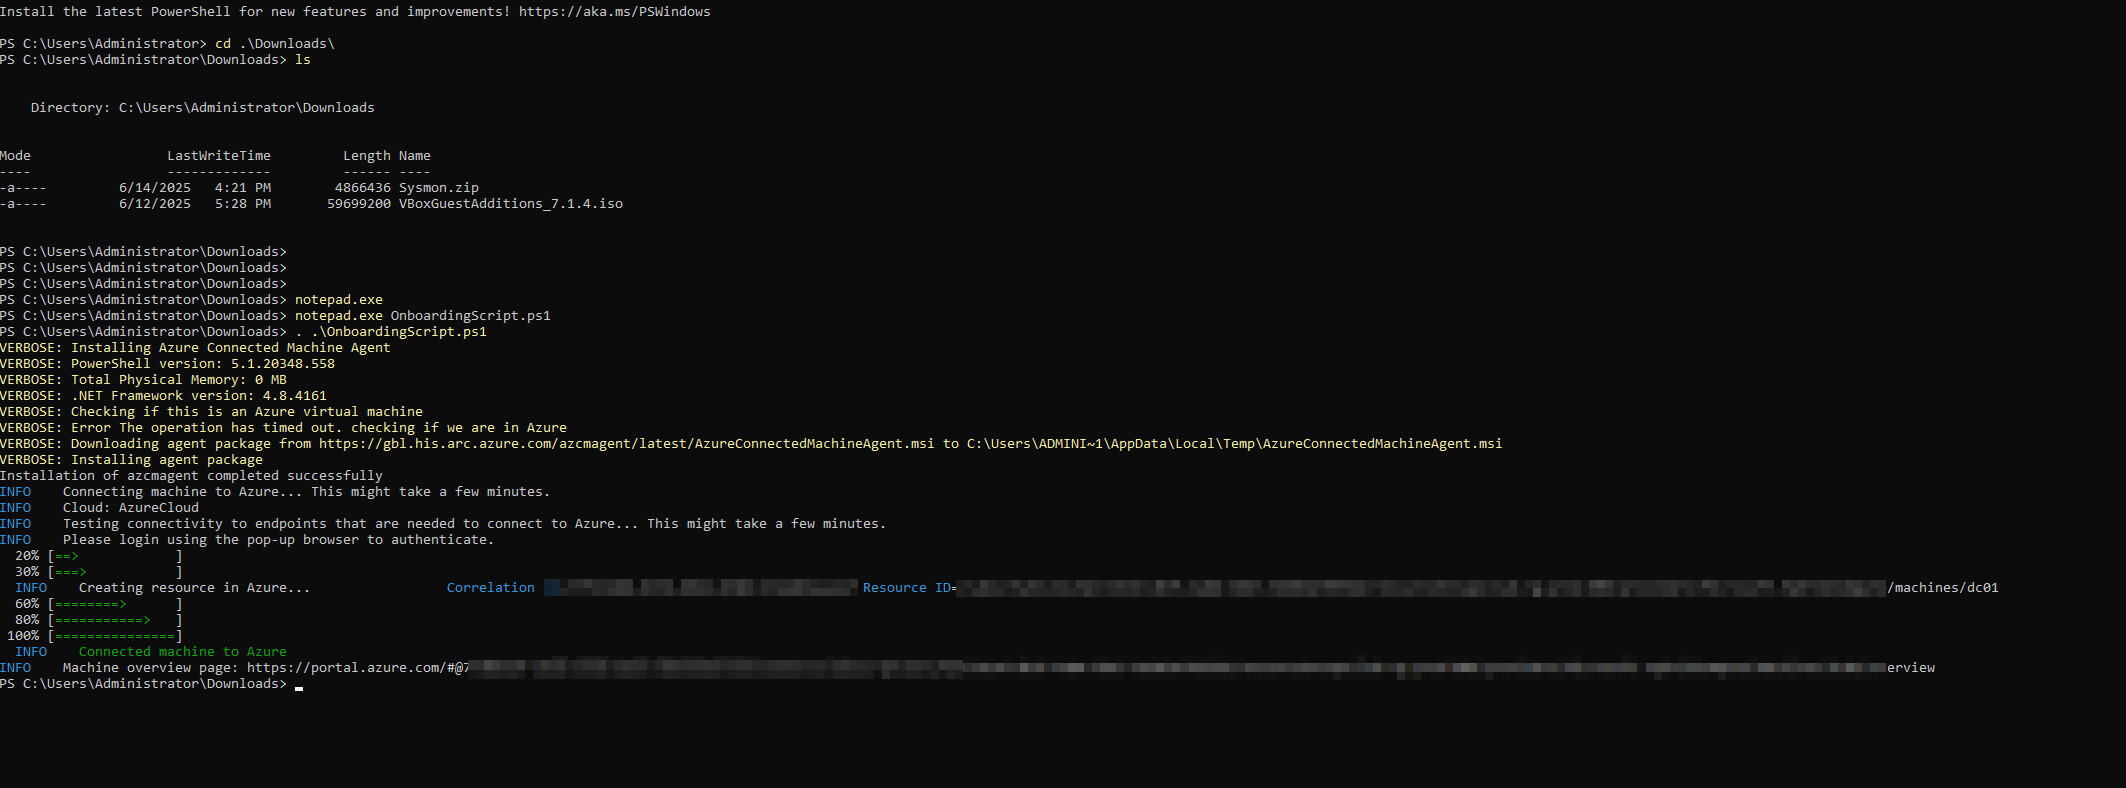
After successful authentication, you’ll see a message like:
Authentication complete. You can return to the application. Feel free to close this browser tab.
Once done, it will provide a URL to access more information about your onboarded machine.
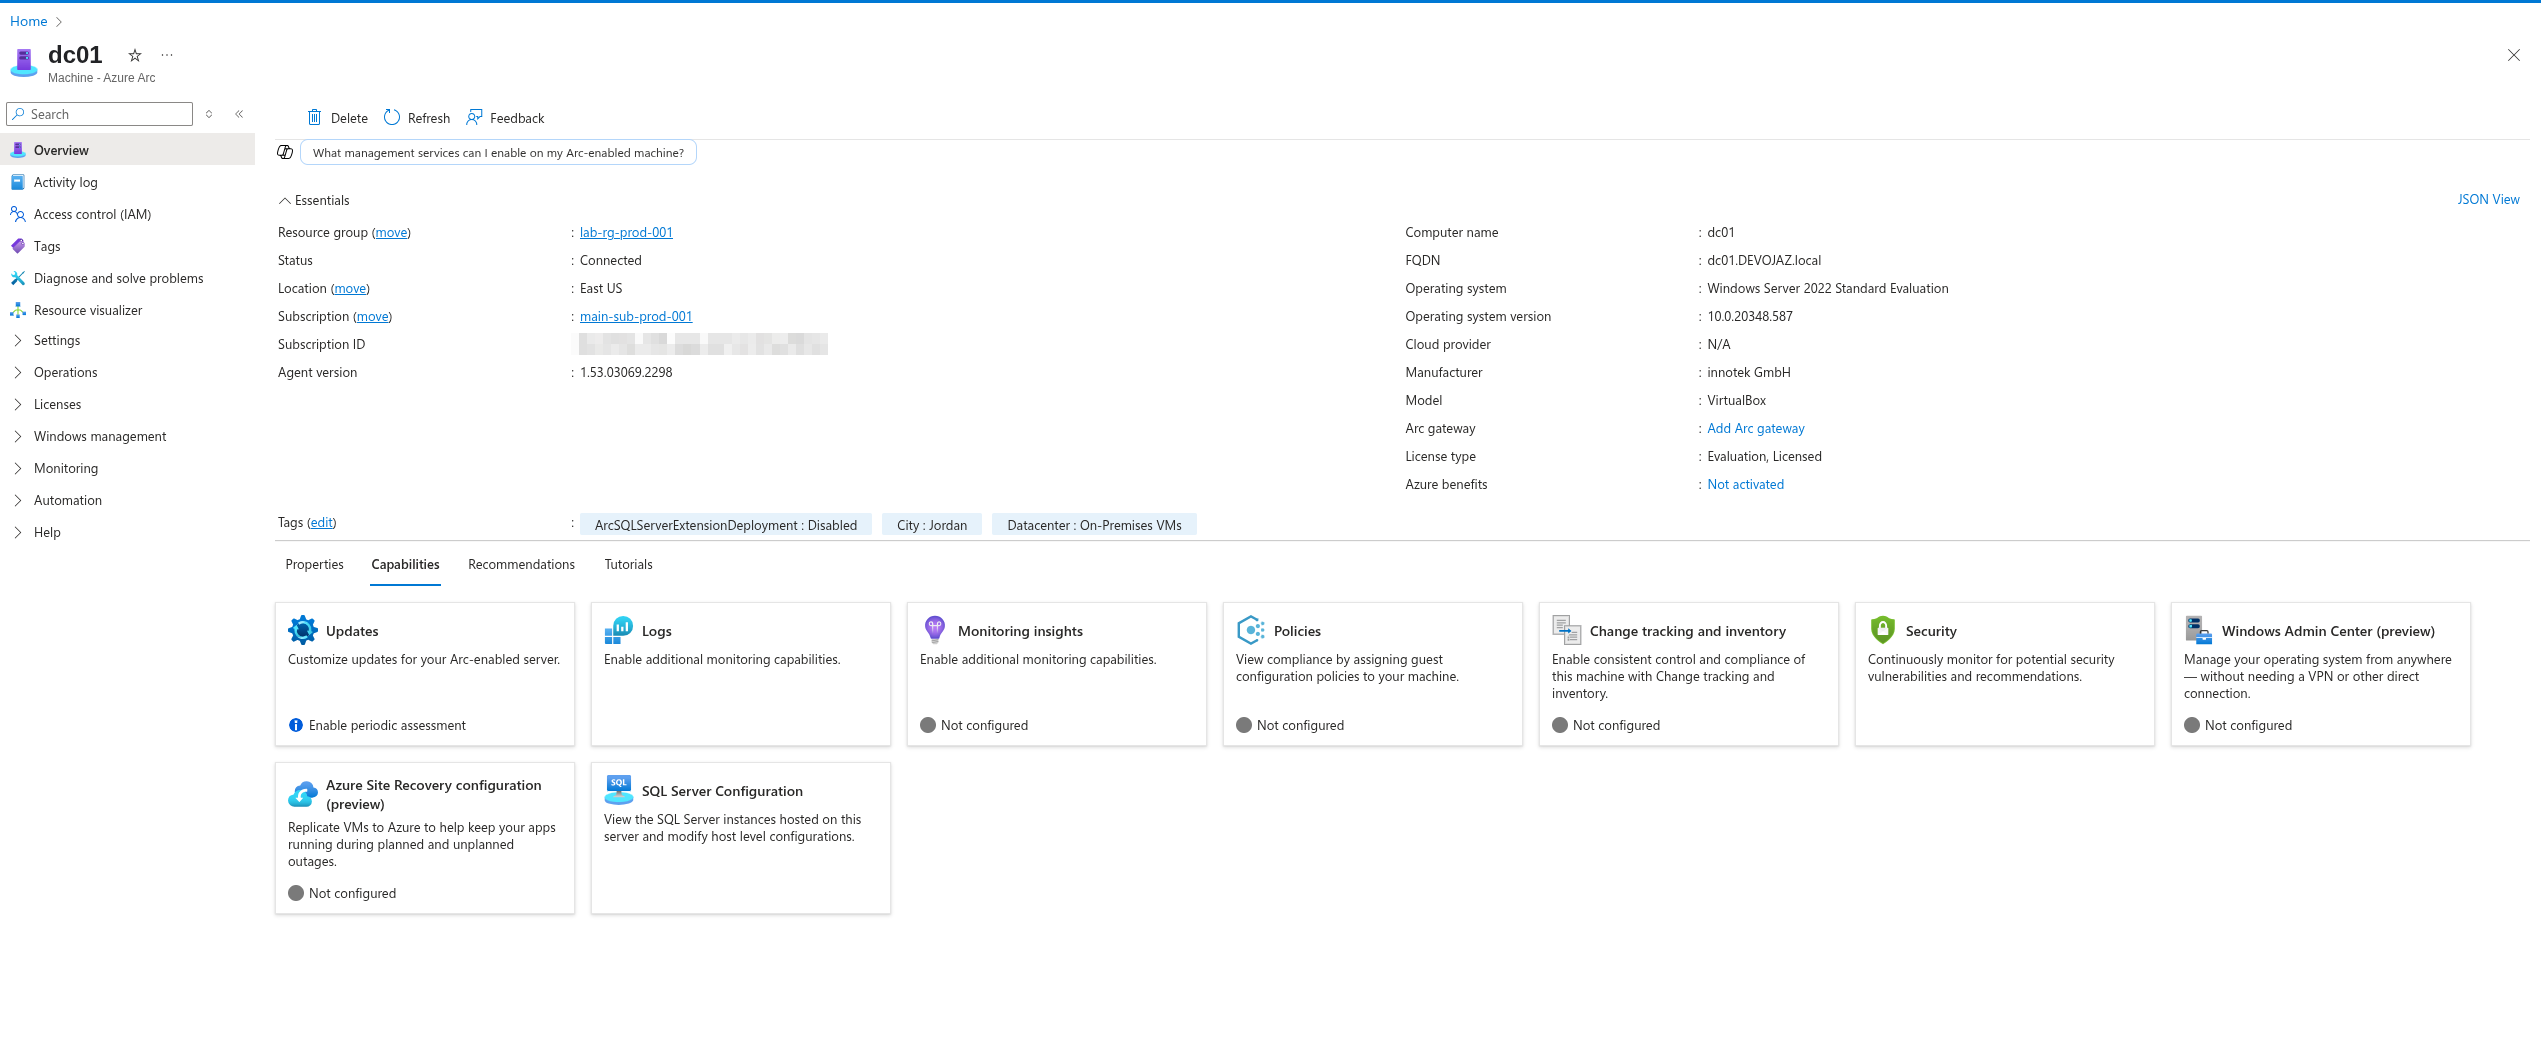
Now, let’s set up Log Analytics and Microsoft Sentinel.
Creating Log analytics workspace & Sentinel#
Log Analytics is essentially a central hub for all your logs and monitoring data, not just from your Azure environment, but also from your on-premises resources via Azure Arc.
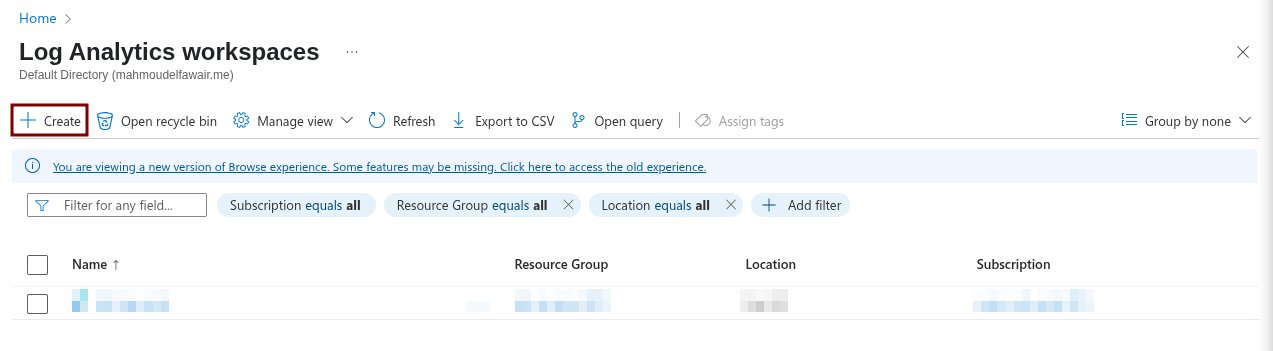
To create a Log Analytics workspace:
- Go to the Azure Portal.
- Search for
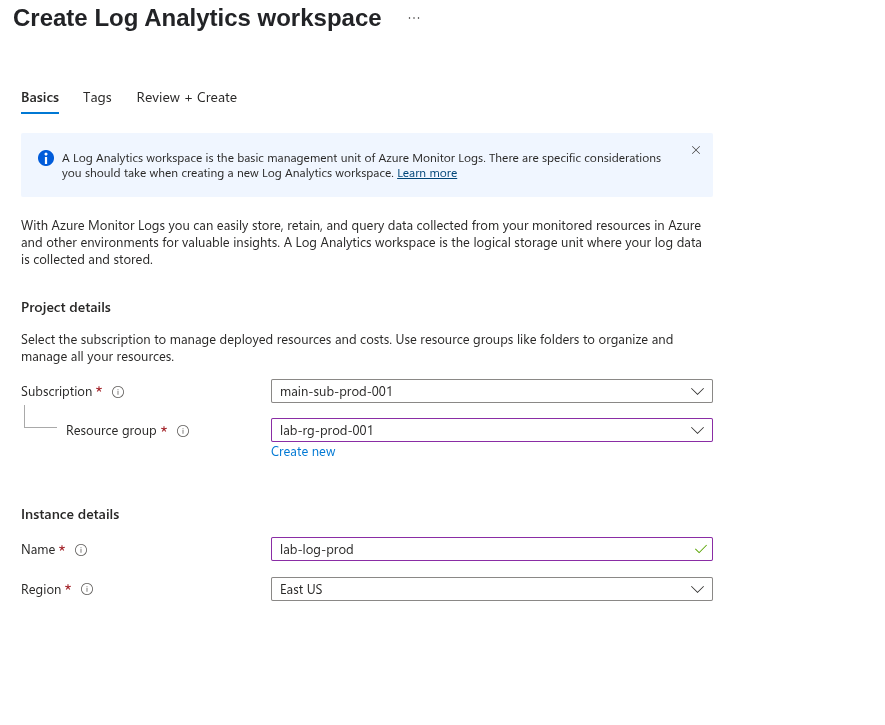
Log Analytics workspaces. - Create a new workspace.
Fill in the subscription, resource group, and the name and region for your Log Analytics workspace.
Once created, we can then set up a Microsoft Sentinel resource. Microsoft Sentinel is a SIEM (Security Information and Event Management) and SOAR (Security Orchestration, Automation, and Response) solution. This is where we’ll be writing our detection queries.
From the Azure Portal, navigate to Microsoft Sentinel and add Sentinel to your newly created workspace.
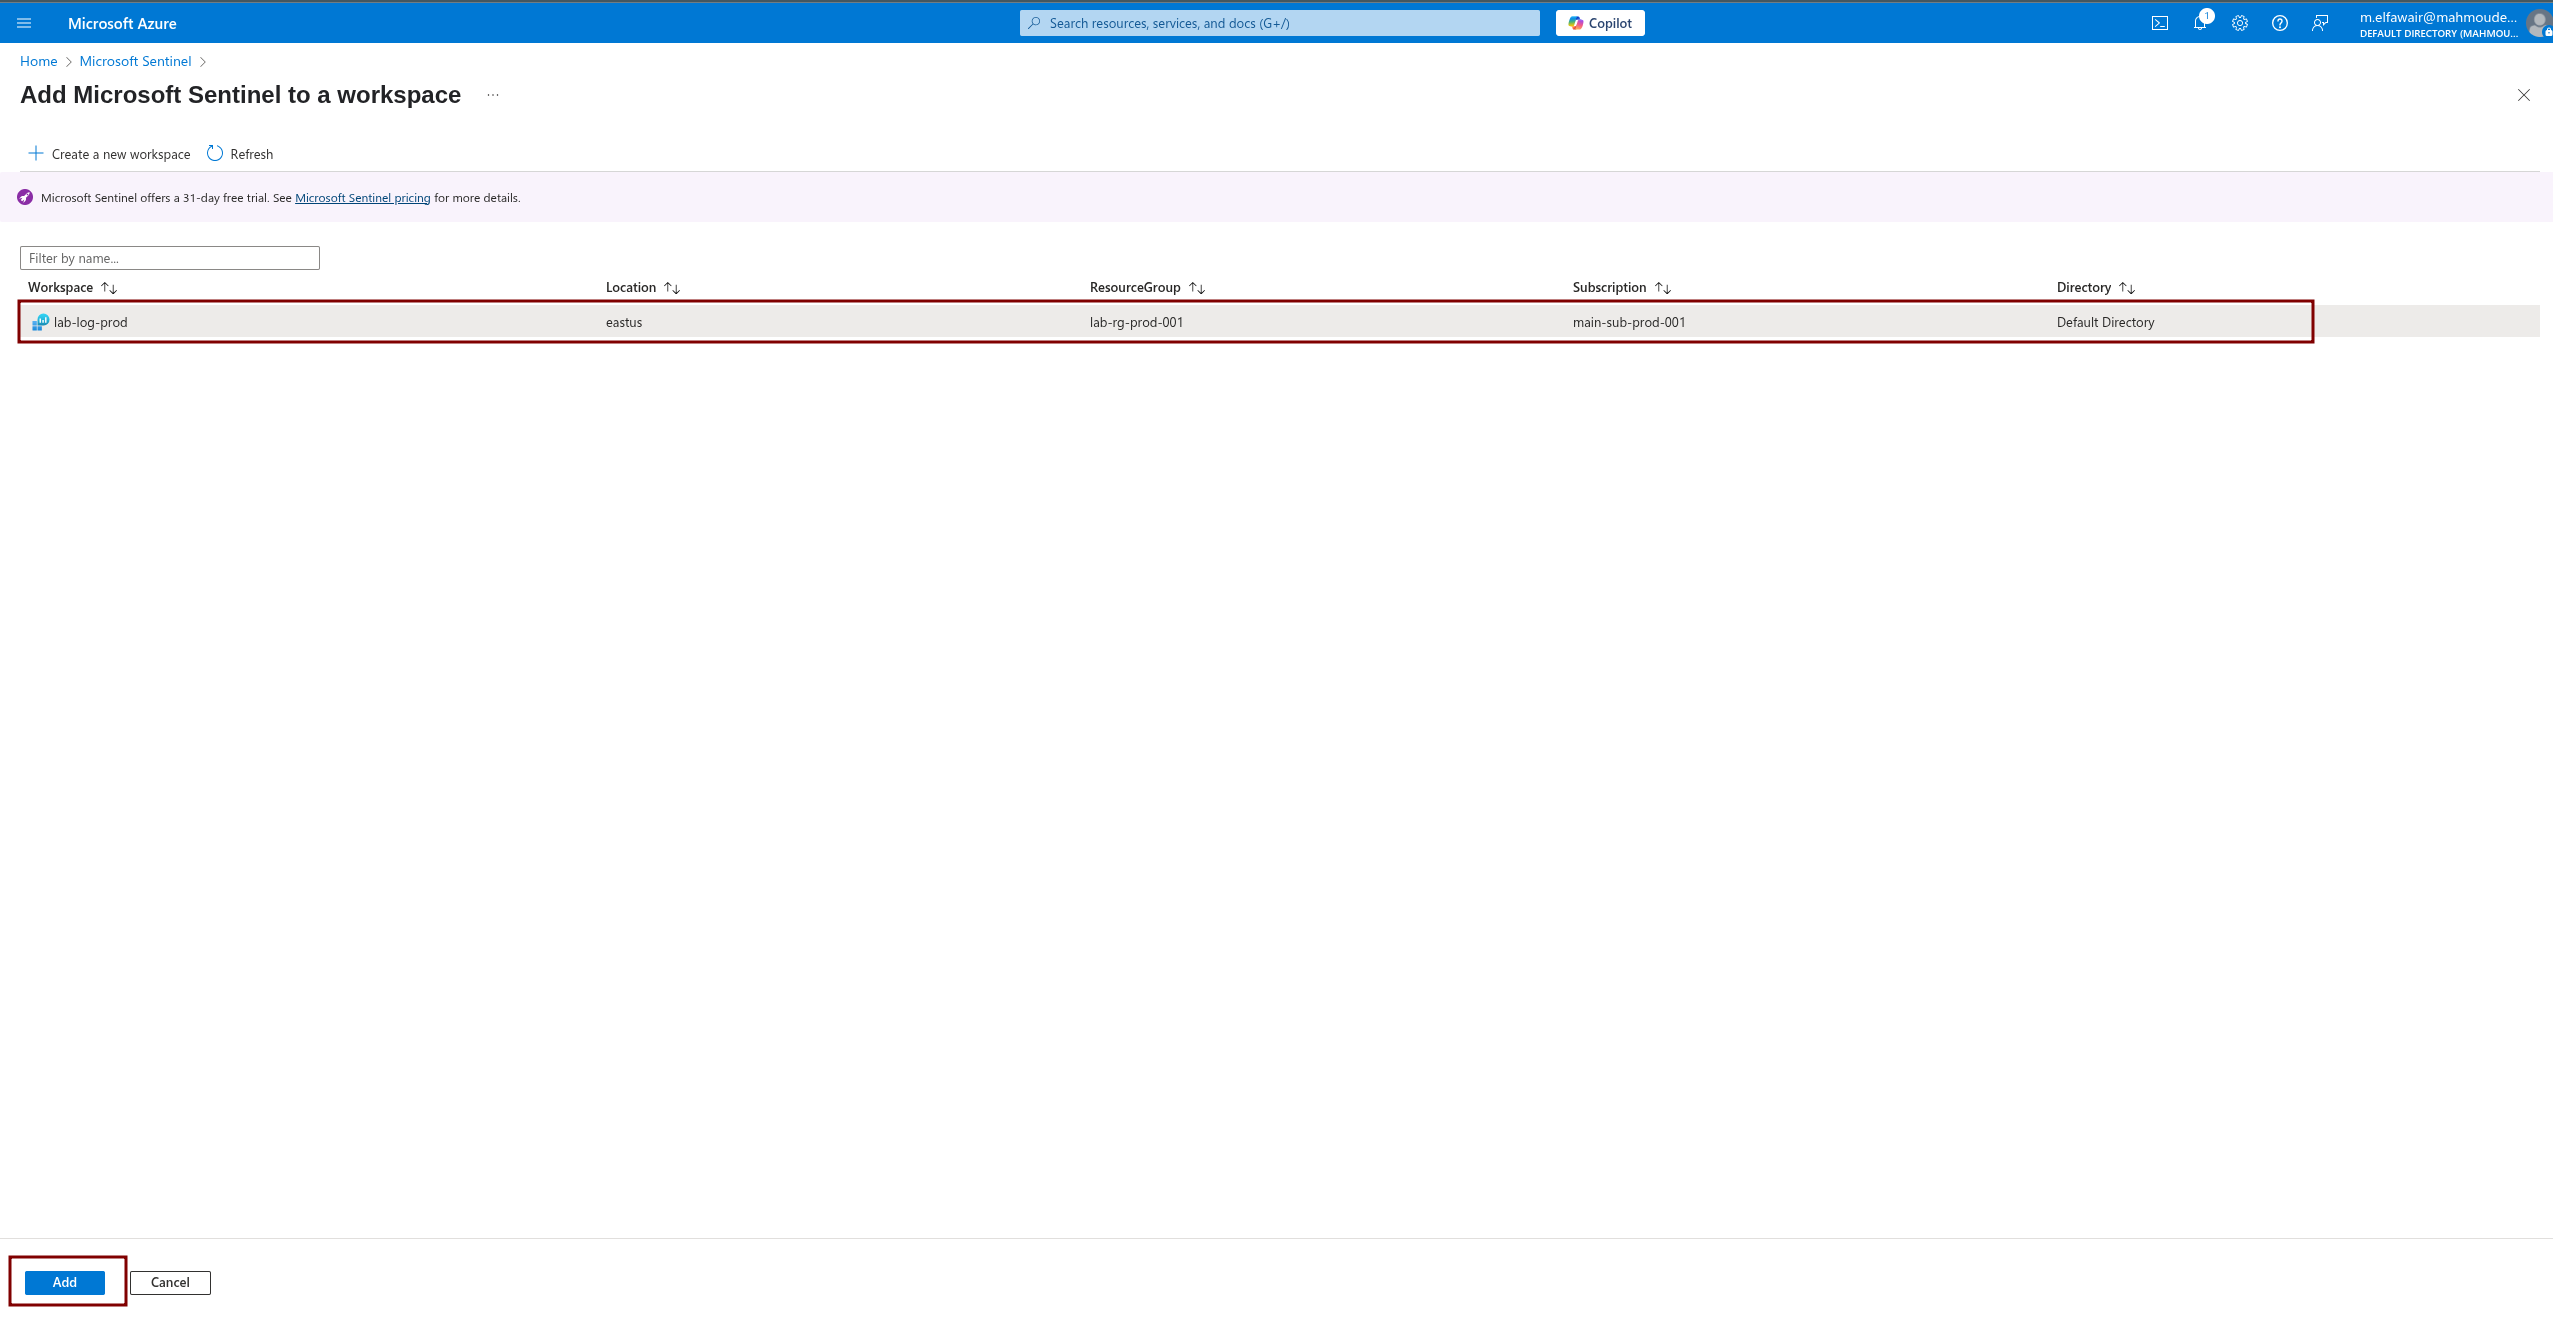
And voilà! You now have Microsoft Sentinel.

Now that Azure Arc is successfully installed on all machines, we need to ingest logs into Microsoft Sentinel.
Ingesting logs to Microsoft Sentinel#
Collecting Windows Security Events#
We’re now ready to set up data connectors.
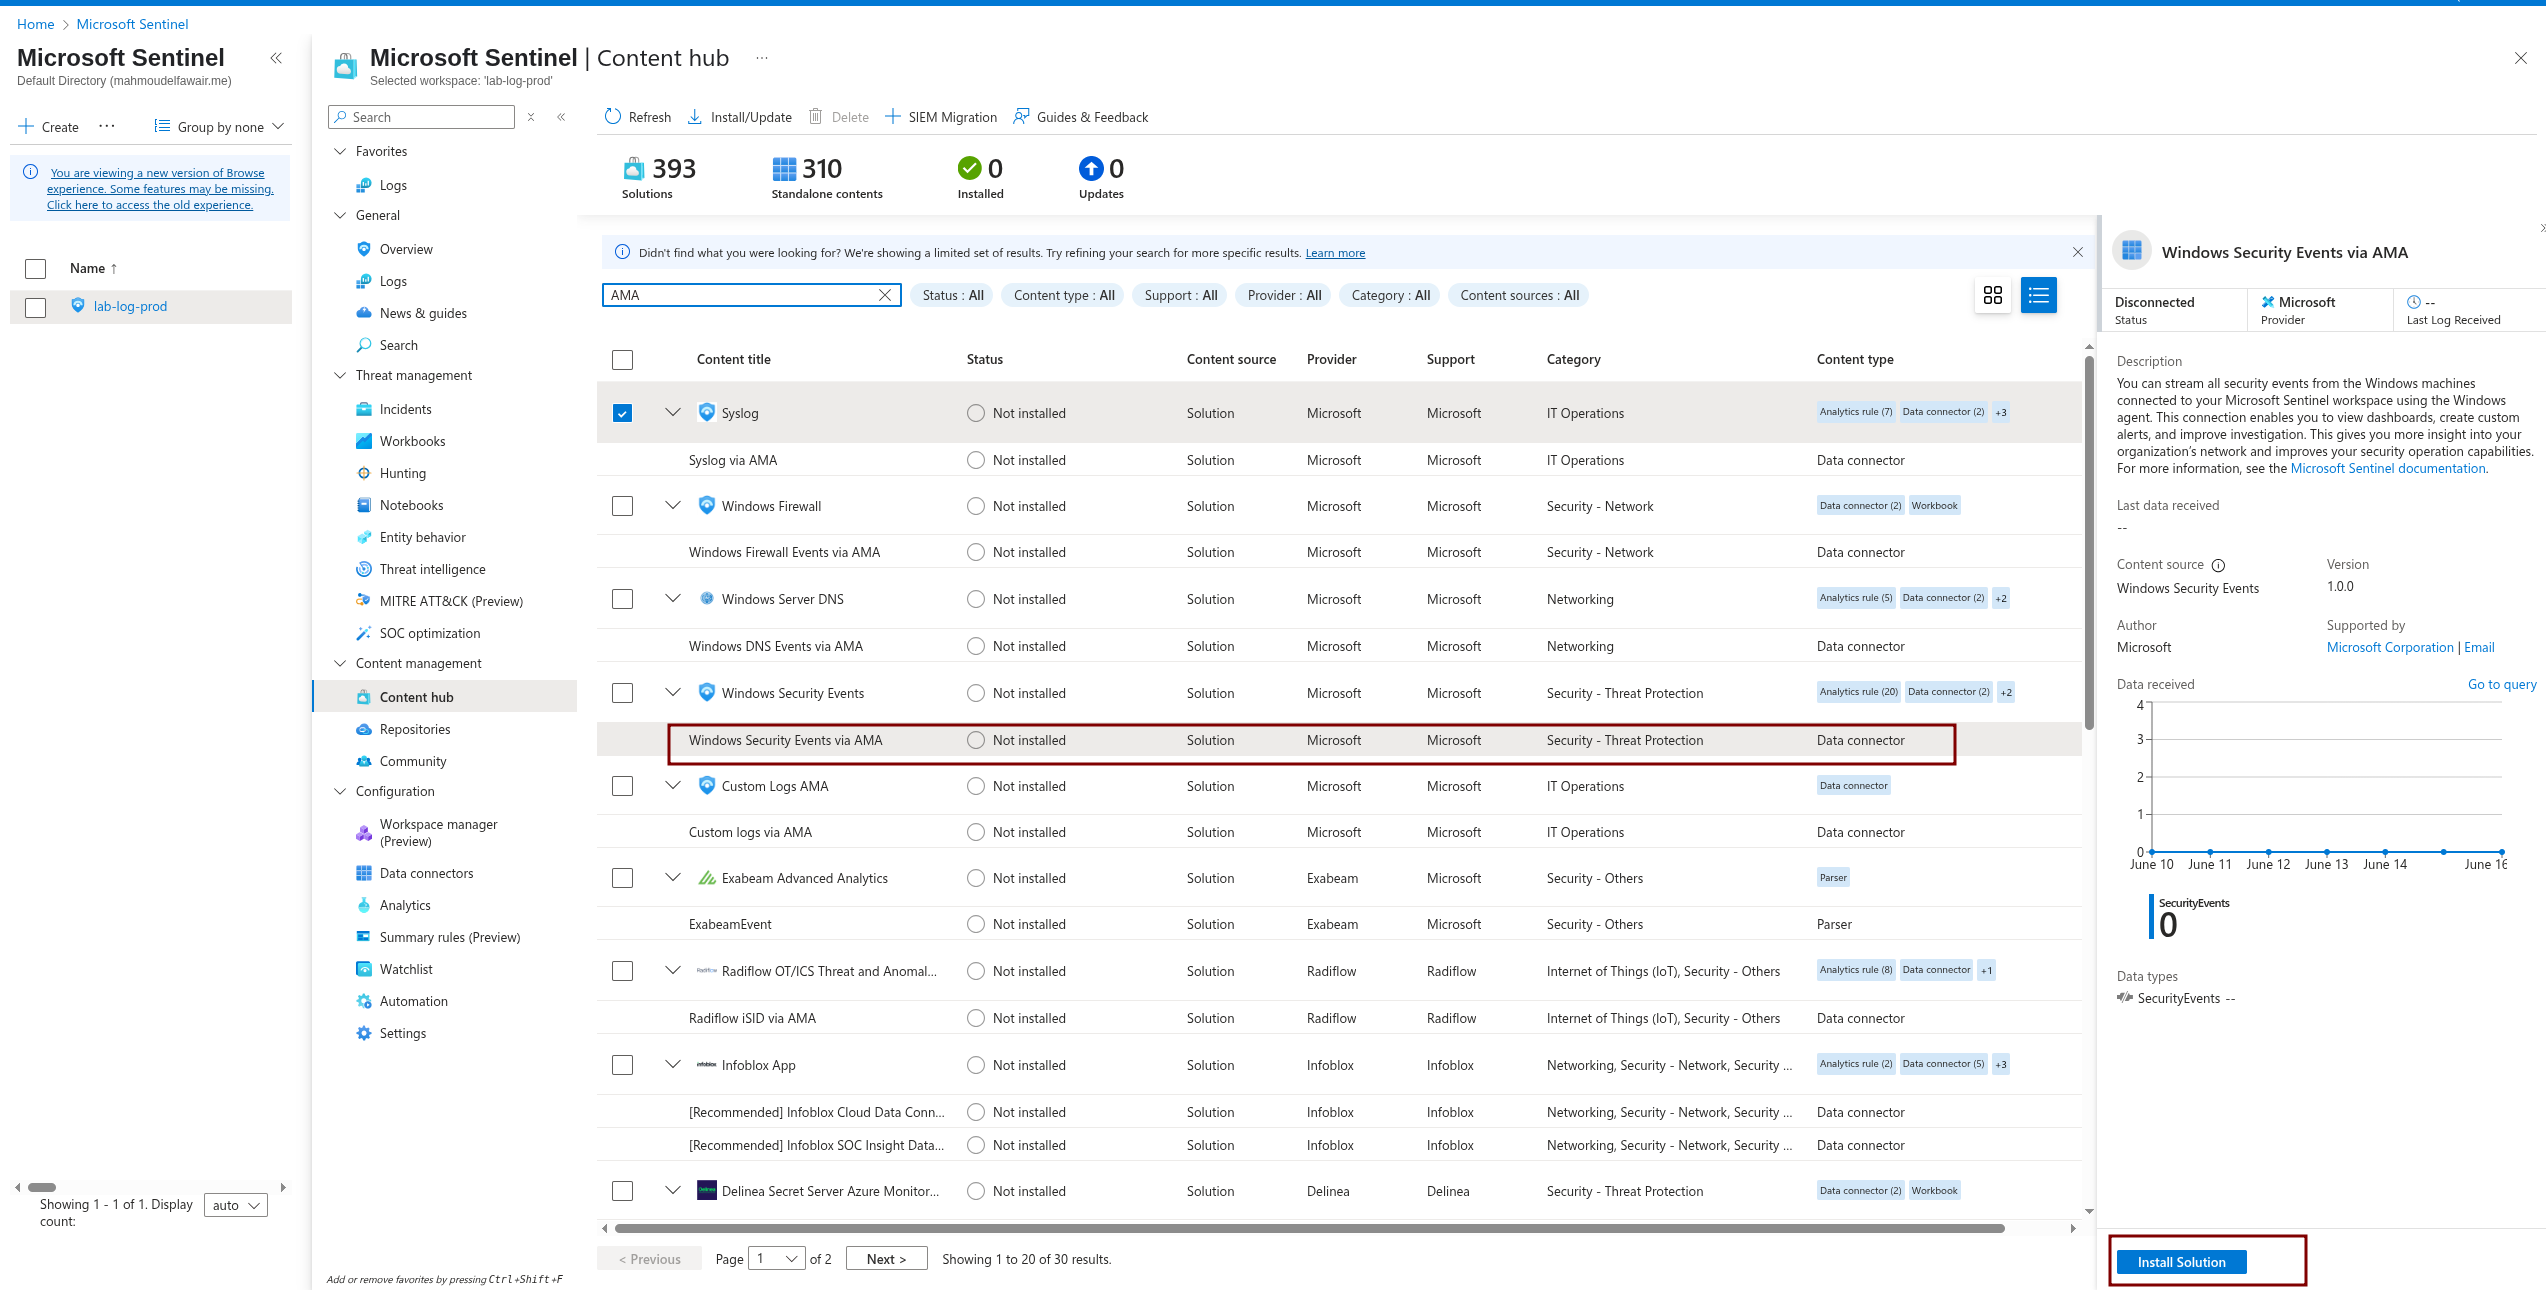
First, let’s install the connector from the Content Hub.
Then, follow these steps:
- In the menu, select Data connectors.
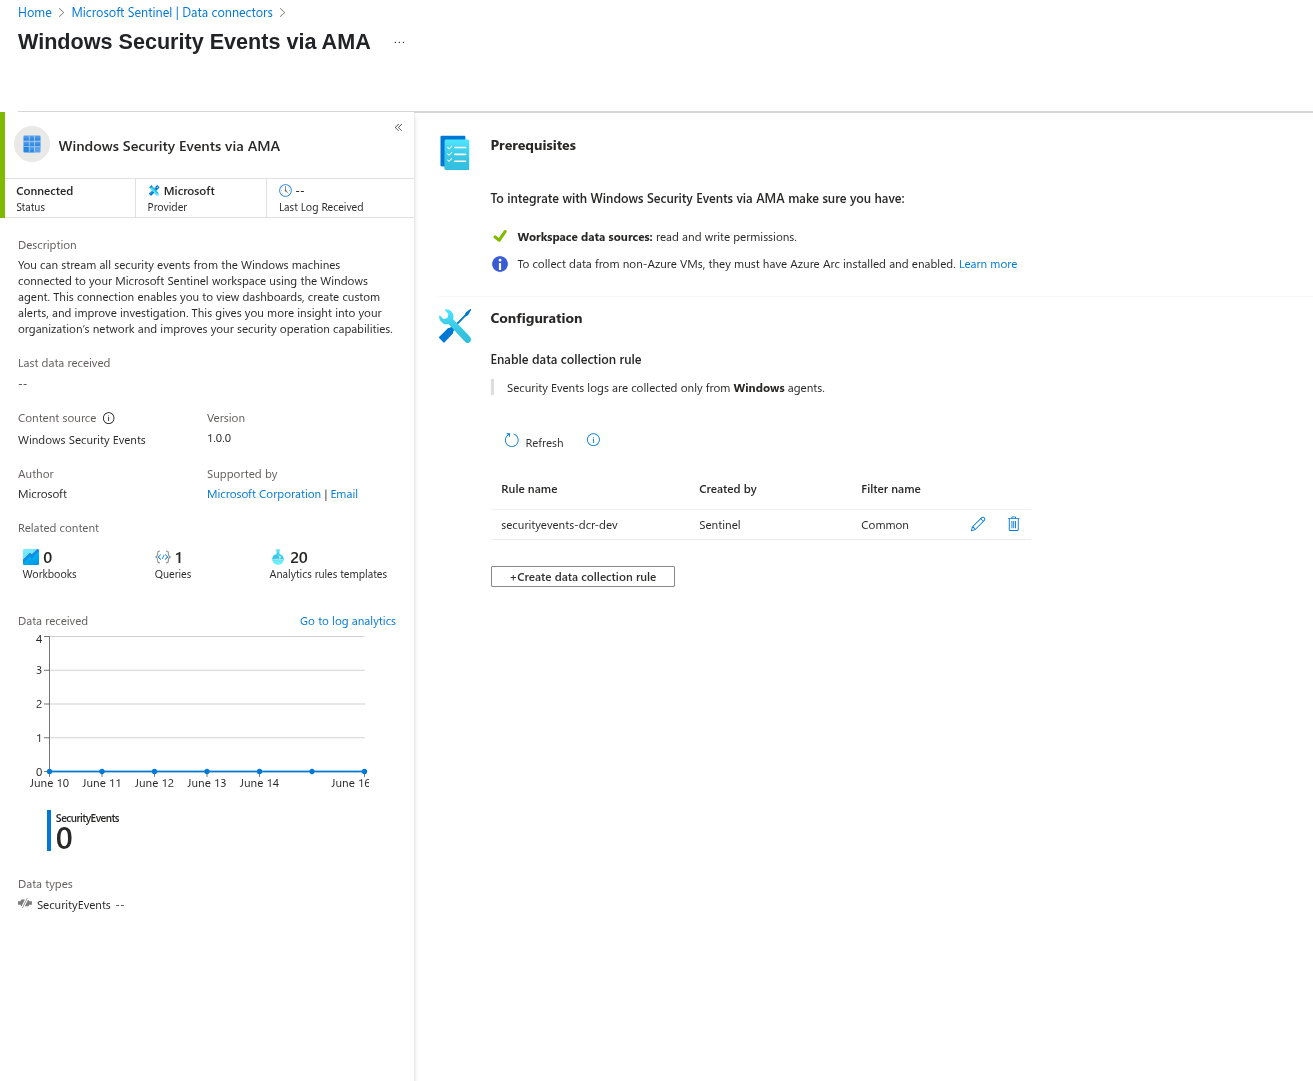
- Select the Windows Security Event via AMA connector.
- Open the Connector page.
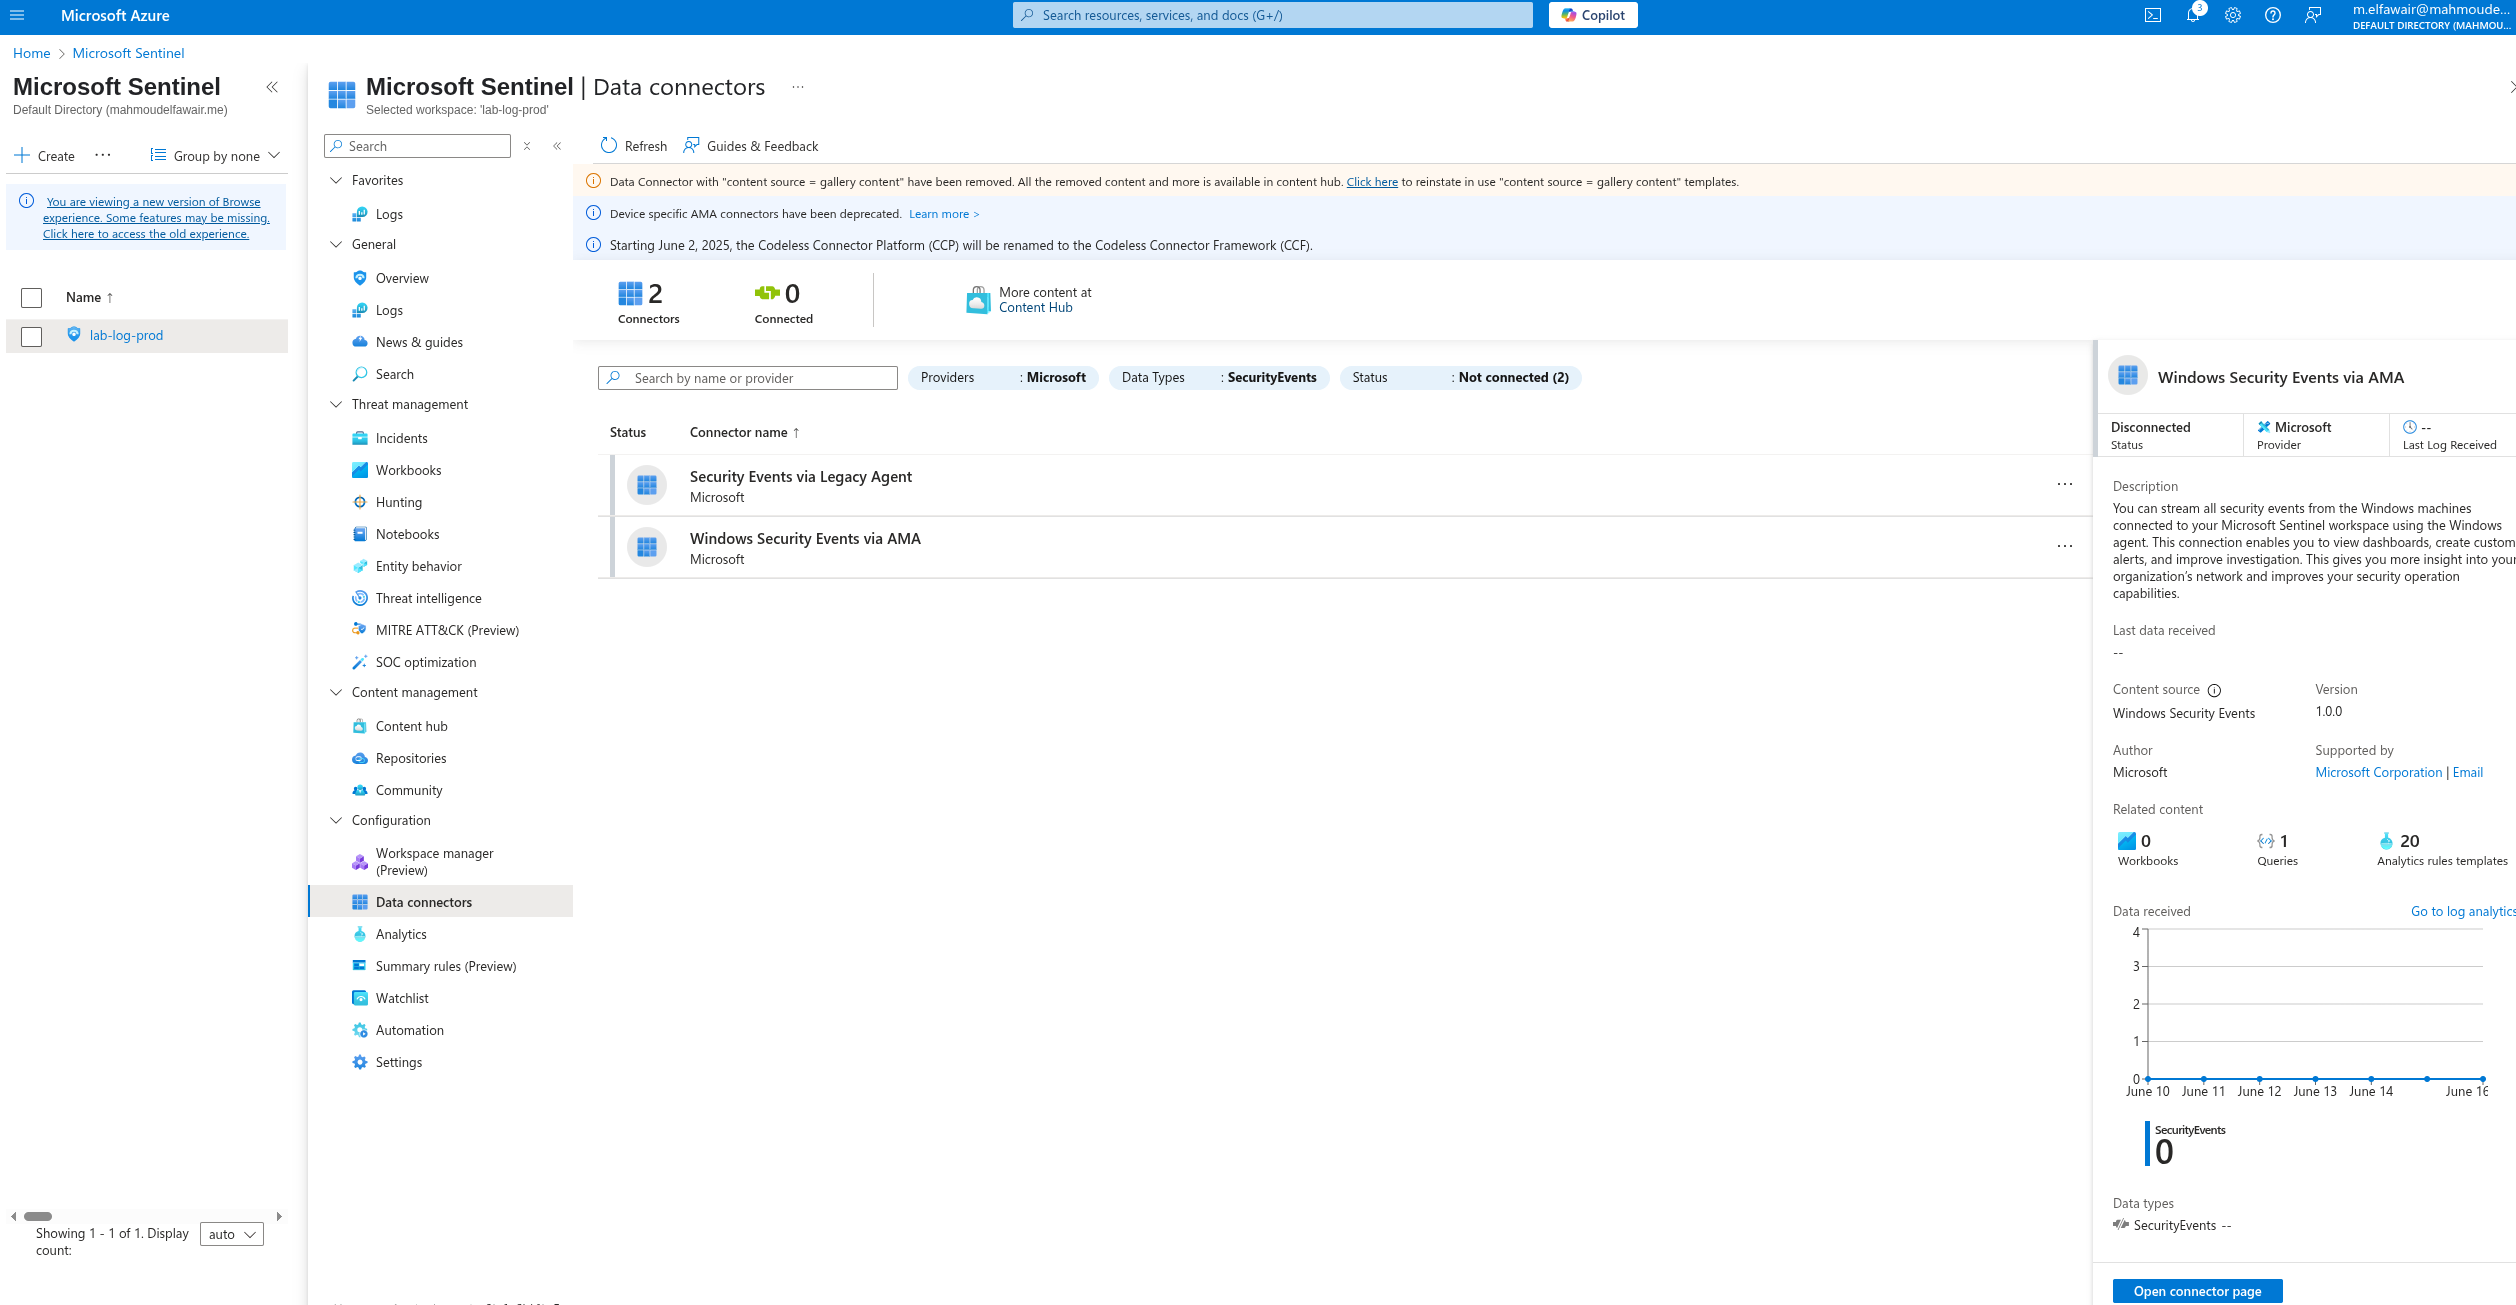
From the connector page, configure the new data sources. Ensure you have read and write permissions.
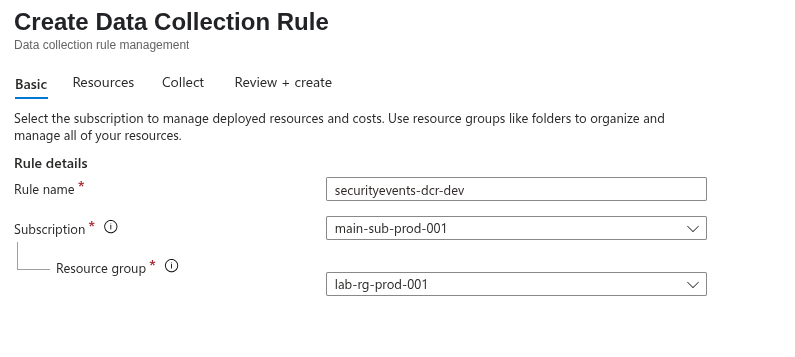
To collect security events from Windows agents and install the AMA agent, begin by creating a new Data Collection Rule (DCR). Click the Create data collection button.

First, give the rule a name and specify the subscription and resource group.
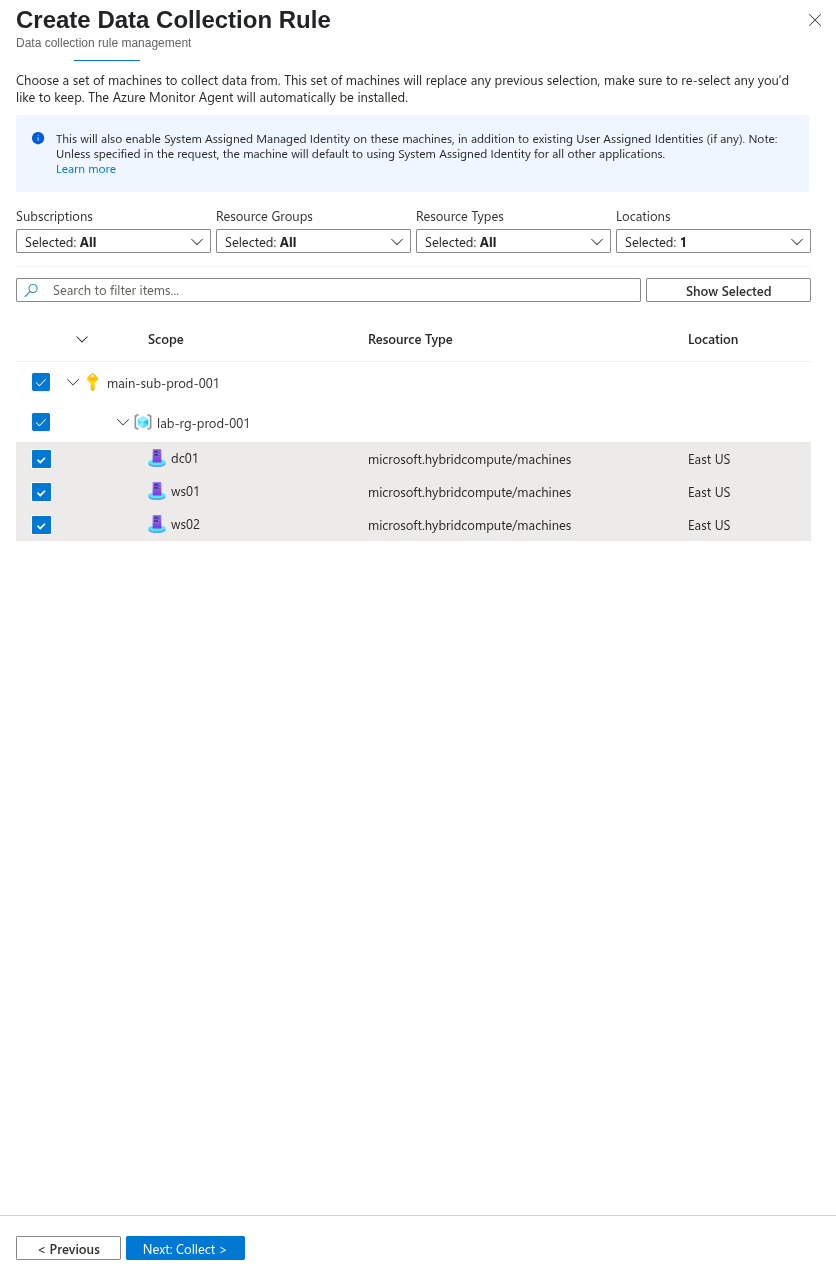
Then, select the resources from which you want to collect data.
You can then choose the type of collection you want. Here, I selected the Common type.
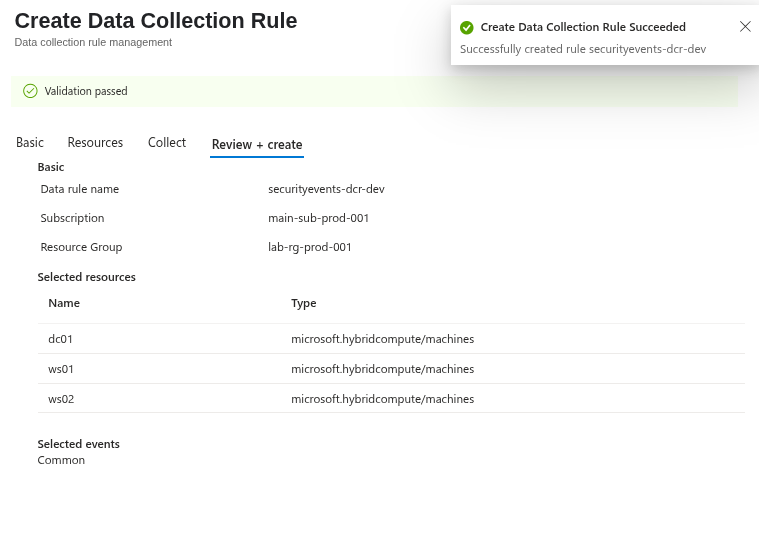
You’ll notice that a new extension was downloaded to our onboarded machines.

And that’s how we start receiving security events!
Now, if we check that data connector, we’ll find the rule we just created
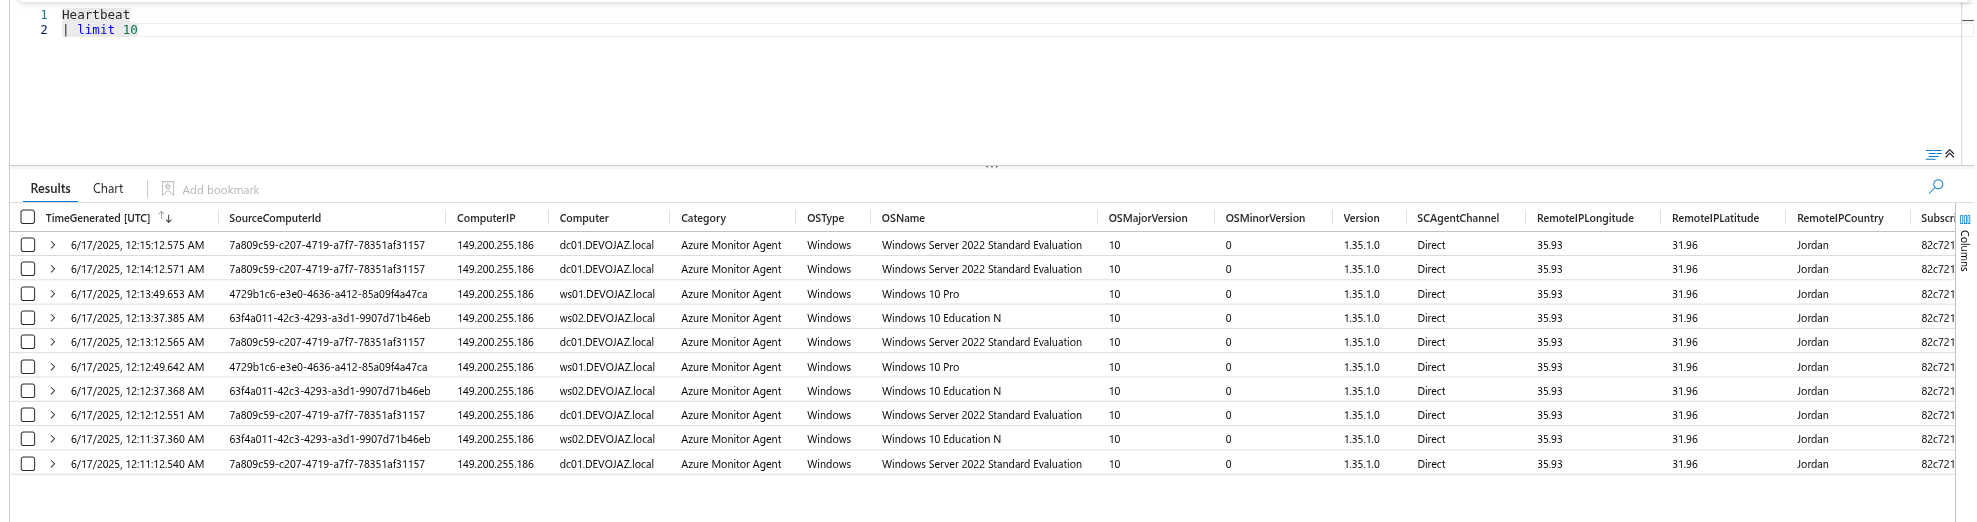
We’re now receiving heartbeats from the machines.
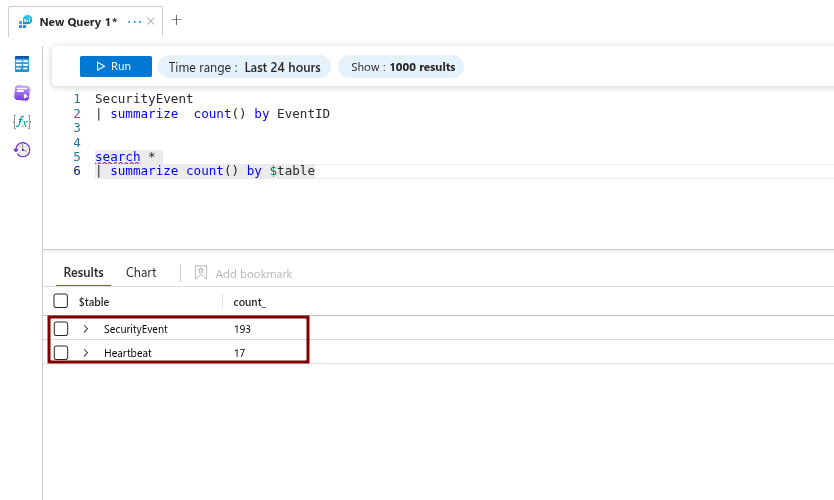
As well as security events.
Deploying & Collecting Sysmon logs#
First, download Sysmon and a configuration file that meets your needs. I chose SwiftOnSecurity’s sysmon-config.
Then, simply run the Sysmon binary with the configuration file on your machines. You can use GPO or RMM solutions to deploy it across multiple machines.
The command you’ll use looks like this:
Sysmon64.exe -accepteula -i .\sysmonconfig.xml
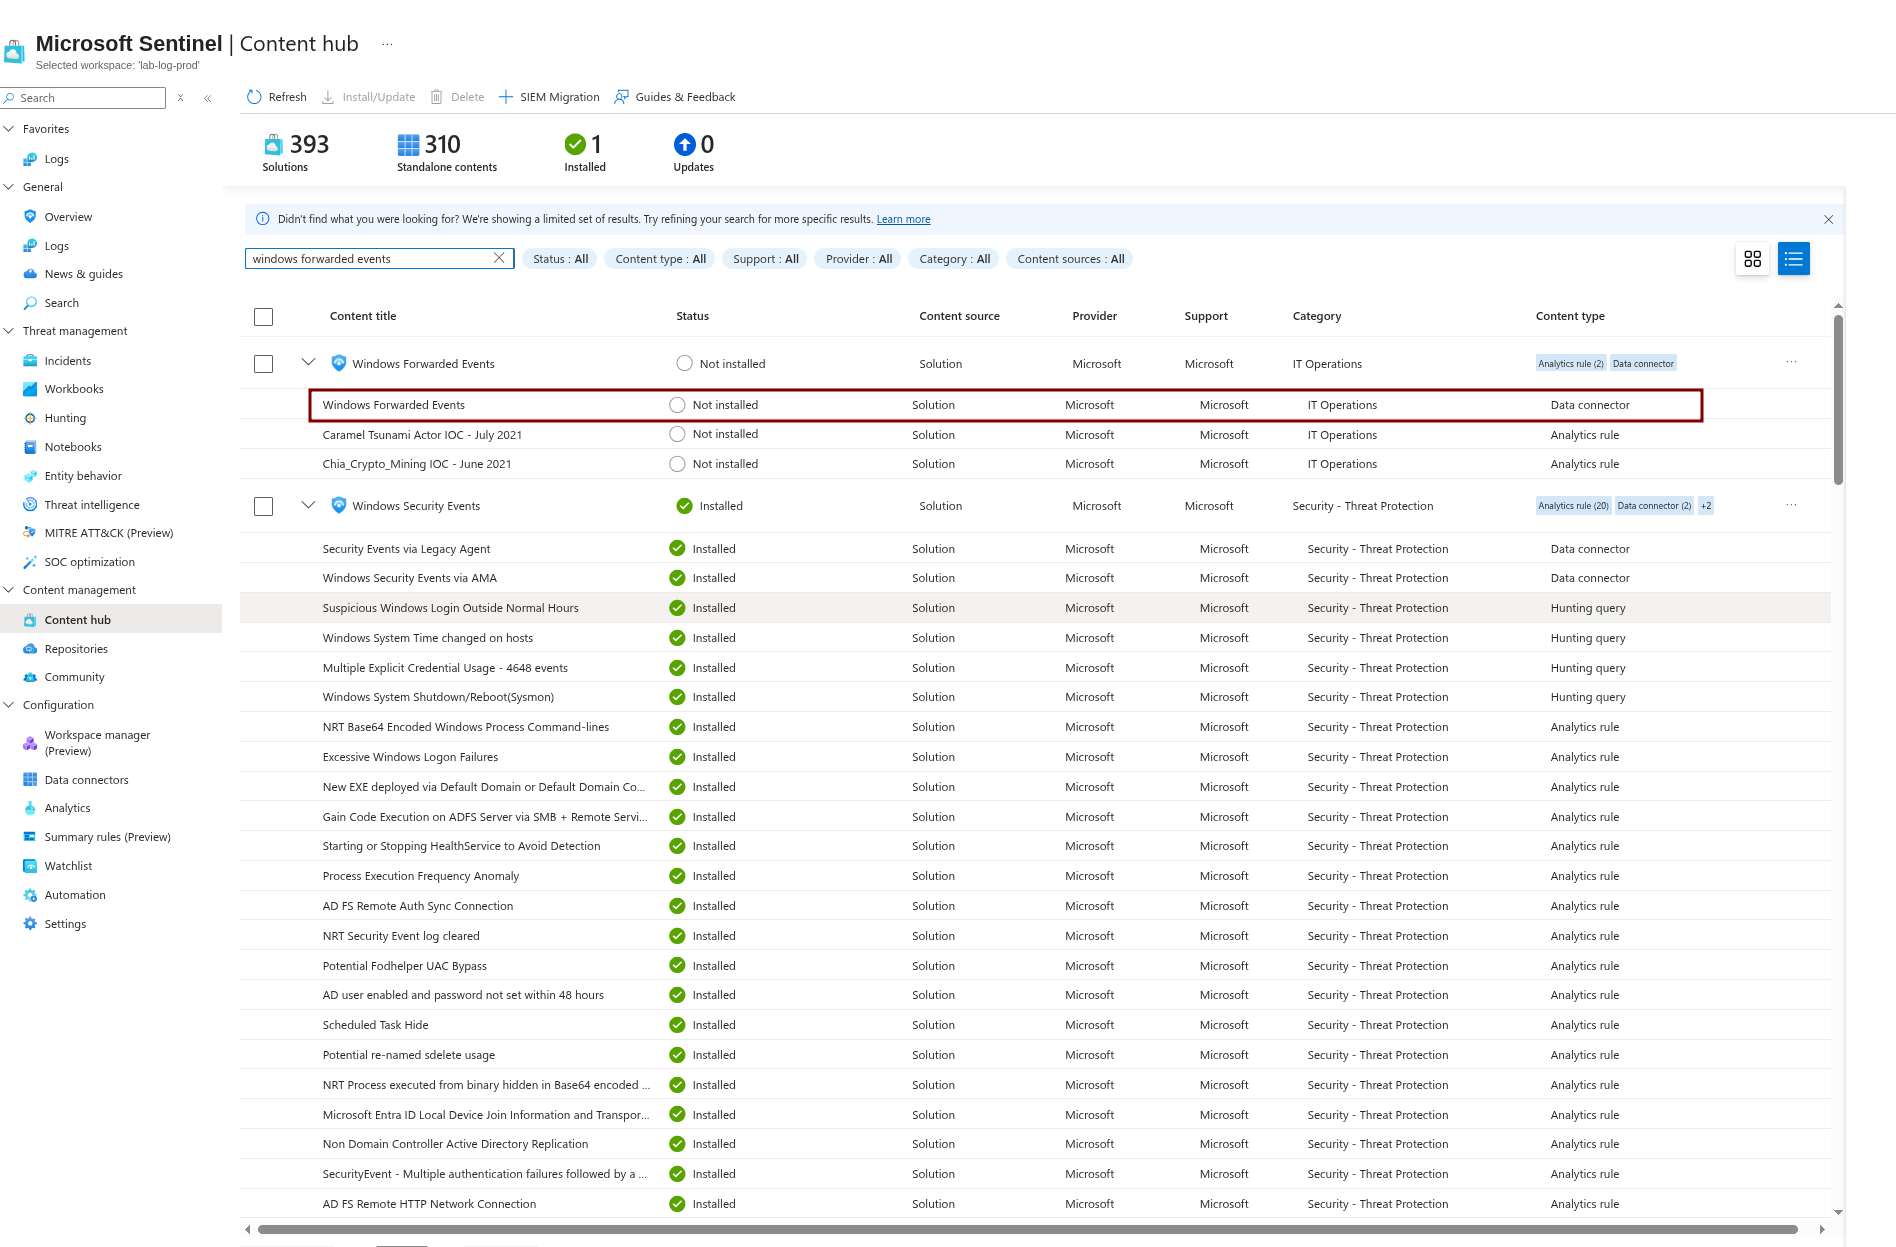
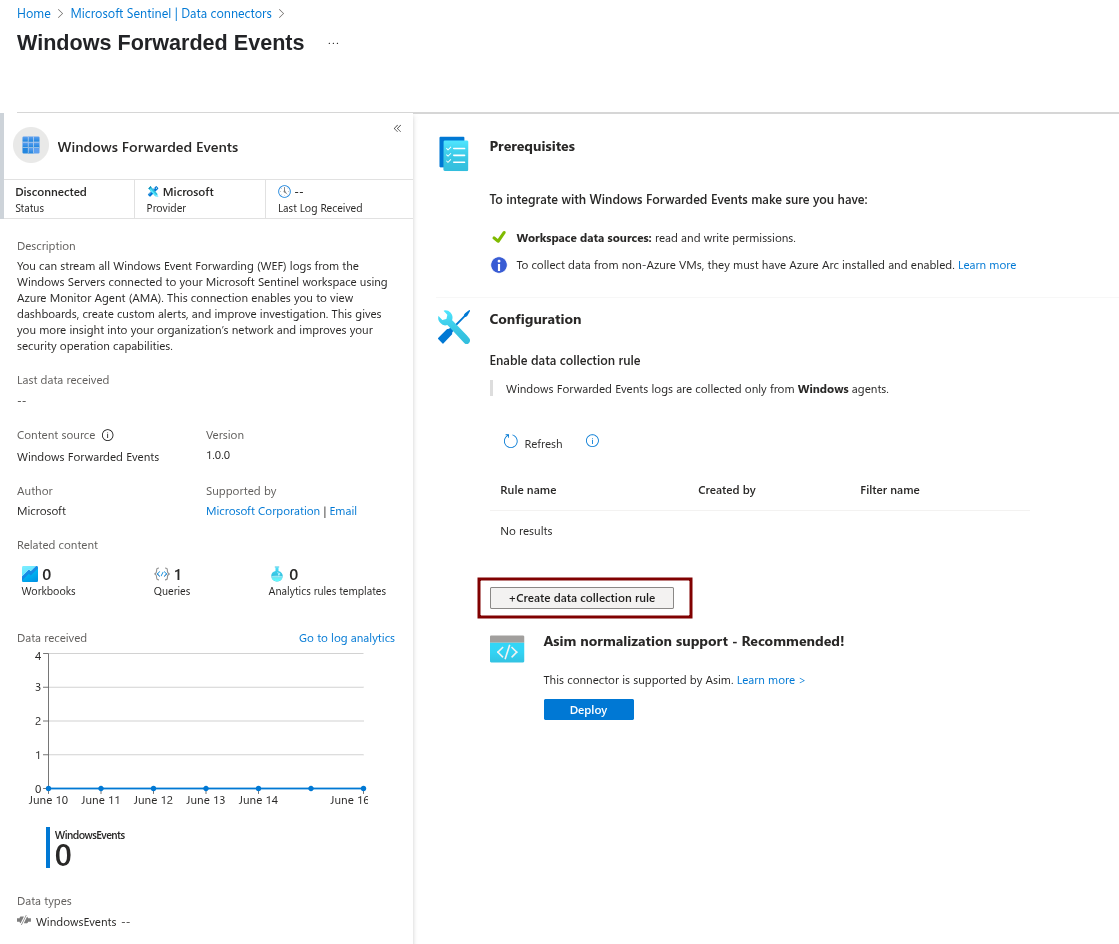
For Sysmon, it’s recommended to use the Windows Forwarded Events connector in Sentinel.
First, install the data connector, then open the connector page and create a data collection rule.
We then need to create a data collection rule.
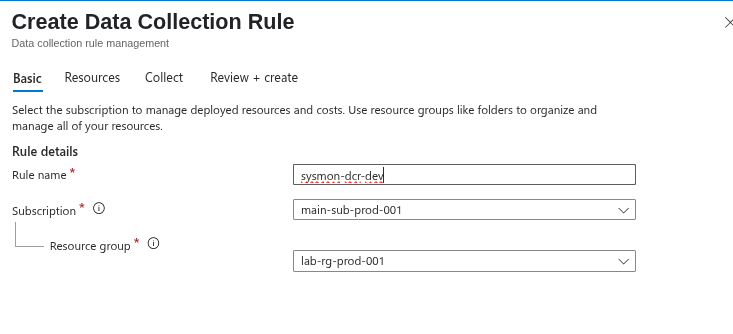
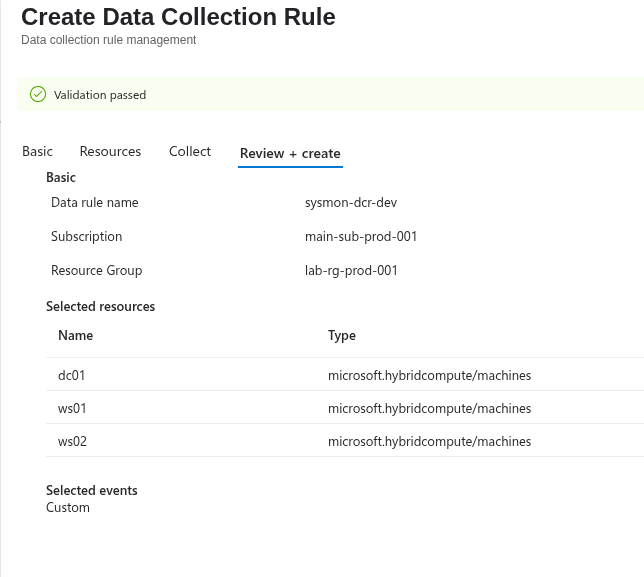
Fill in the rule name, subscription, and resource group.
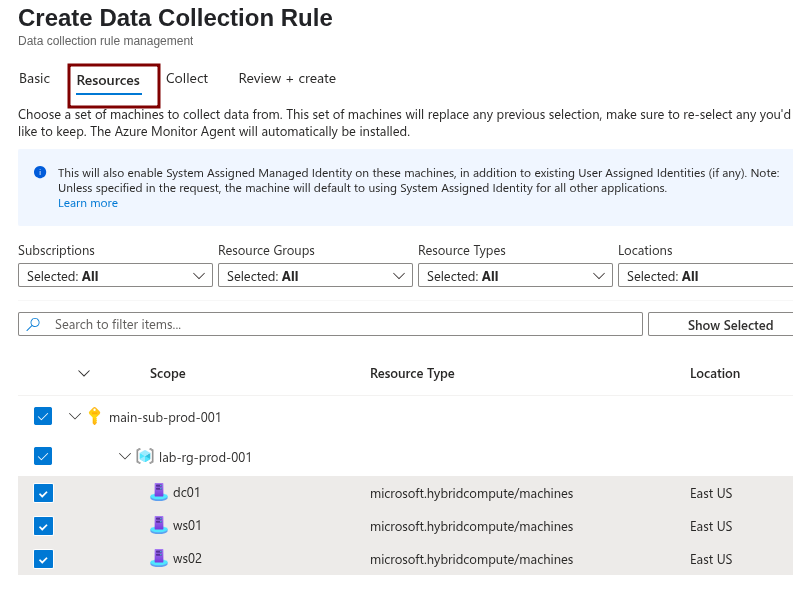
Then select the resources.
Select Custom for specifying a custom set of rules/events using a DCR.
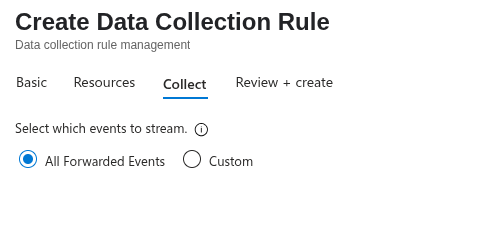
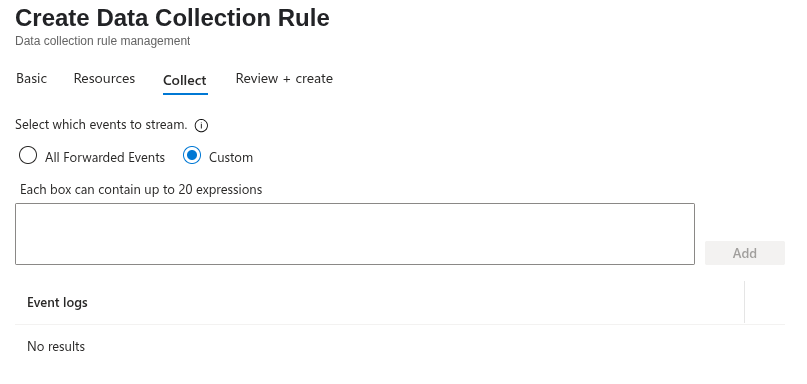
Then add the following log location:
Microsoft-Windows-Sysmon/Operational!*
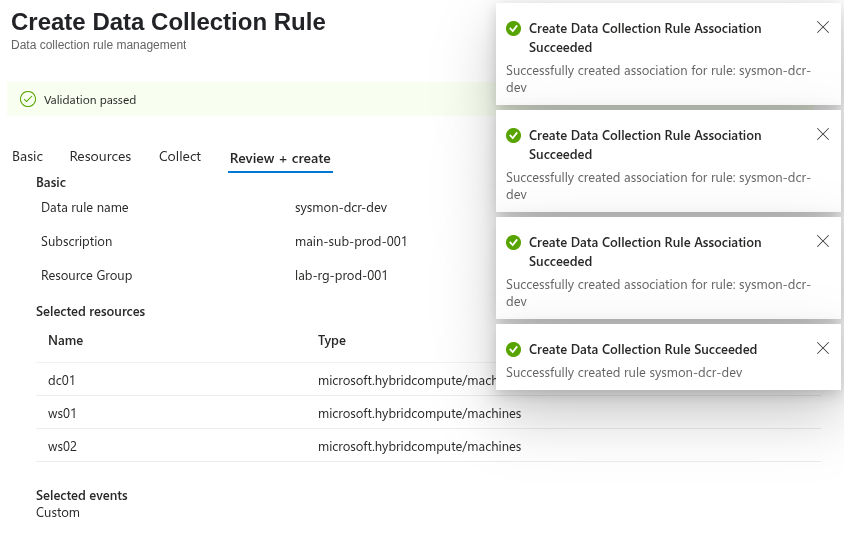
After few minutes, the extension will be deployed, and the DCR configuration will be pushed. Sysmon events will then be ingested into the WindowsEvent table when using the Windows Forwarded Events table.
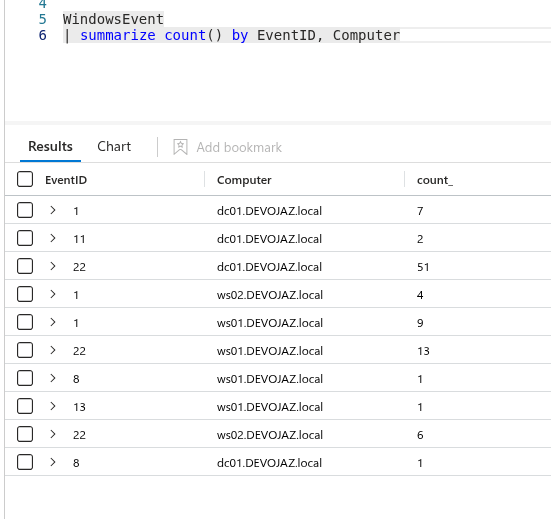
It’s now working!
Lab Architecture Diagram#
Here’s a visual representation of the lab we’ve just set up.

Resources#
Much of my approach for this section was informed by the detailed guides from Jeffrey Appel, specifically his articles on onboarding with Azure Arc and collecting security events with AMA and DCR.
Wrapping Up Our Lab Journey#
Until Next Time!
Well, that brings us to the end of today’s blog. We’ve laid the groundwork for an incredible learning environment, connecting our on-premises world to the power of Azure Sentinel.
My biggest takeaway from this project was the powerful value of hands-on practice, and I hope this guide helps you to build your own lab.
Go forth, build, learn, and have fun!